Identify Authentic Vintage Ship Lantern: 7 Proven Marks Collectors Trust
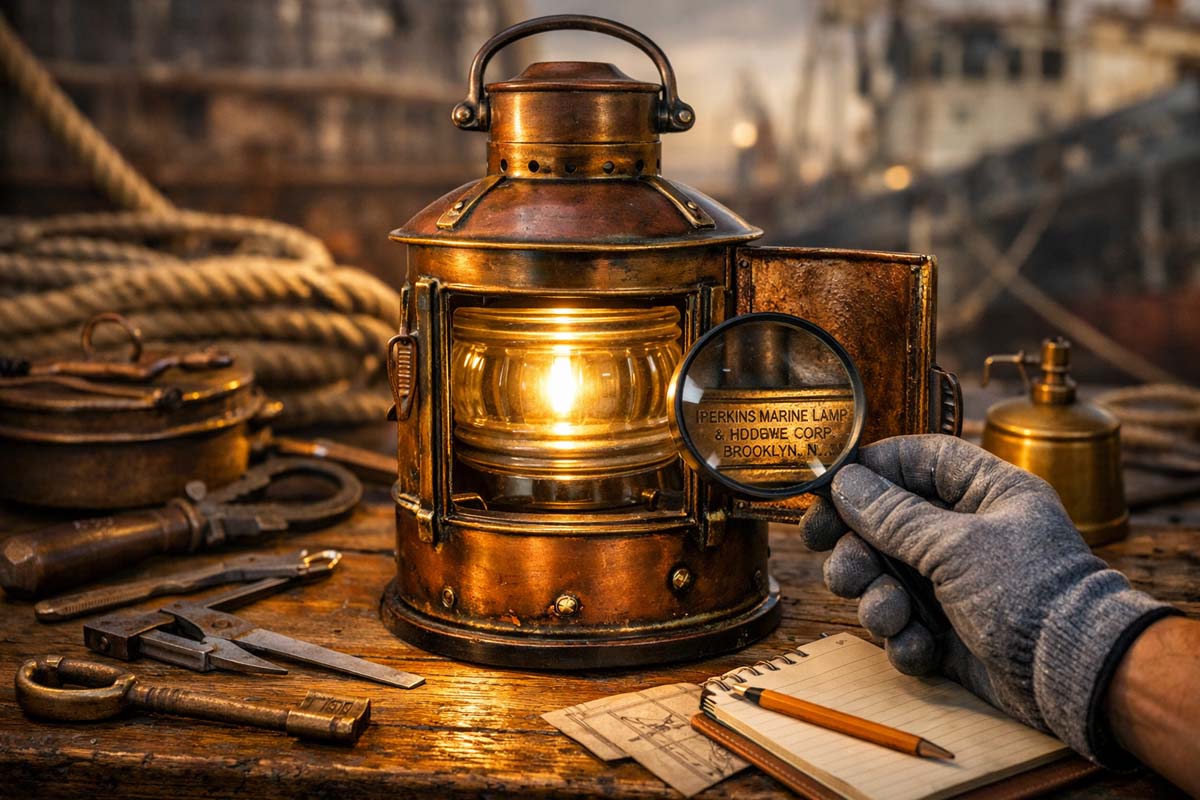
Identify authentic vintage ship lantern examples by treating them like working marine hardware, not home decor. Real ship lanterns were built to survive spray, vibration, and rough handling, so they show practical design, strong joinery, and honest wear in the places crews touched most. In this guide I will walk you through a safe inspection routine, what maker’s marks and data plates should look like, how original Fresnel lenses and burners behave, and the most common “aged brass” fakes. Use it whether you are buying online or checking a lantern in person.
Start with safety before you touch anything
Many vintage lanterns still carry fuel residue, soot, sharp corrosion, or cracked glass.
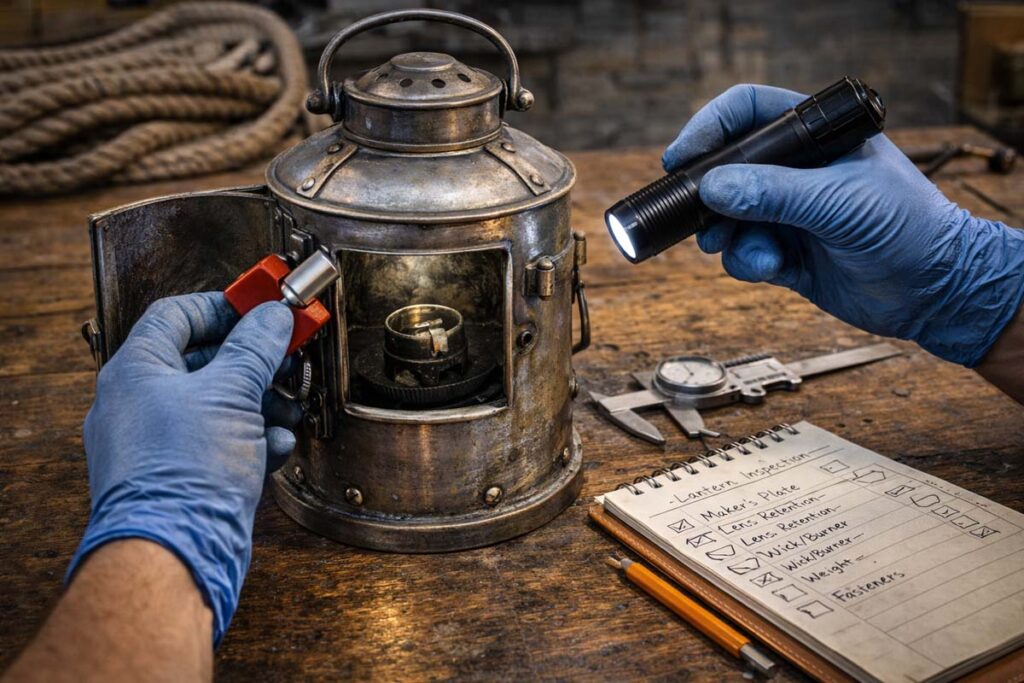
- Wear gloves and eye protection if you are opening the top or removing the burner.
- Treat any unknown liquid or crust inside as hazardous. Ventilate the area.
- If it was electrified later, assume the wiring is unsafe until replaced.
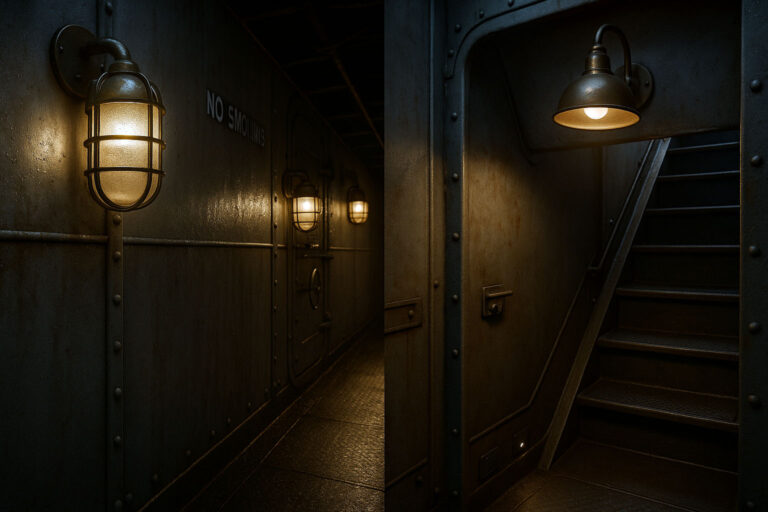
For rustic interiors and industrial projects, our reclaimed ship lights for decor are a practical way to get the look with genuine ship-sourced hardware.
The 10-minute inspection routine
Use this order because it reduces missed details.
- Pick it up by the handle and feel the weight. Authentic marine lanterns usually feel dense for their size because the metal is thicker and the hardware is overbuilt.
- Check symmetry and fit. Doors should close cleanly. Hinges should not look like thin hobby hinges.
- Look for a maker’s plate, stamp, or casting mark. Check the top rim, base, door frame, and mounting bracket.
- Inspect the lens and its retention. Fresnel lenses and colored side lenses should sit firmly with proper bars, screws, or frames.
- Open the lantern and inspect the burner or lamp holder. Confirm it matches the lantern’s era and design.
- Scan for “too perfect” aging. Uniform dark patina in protected areas is a red flag.
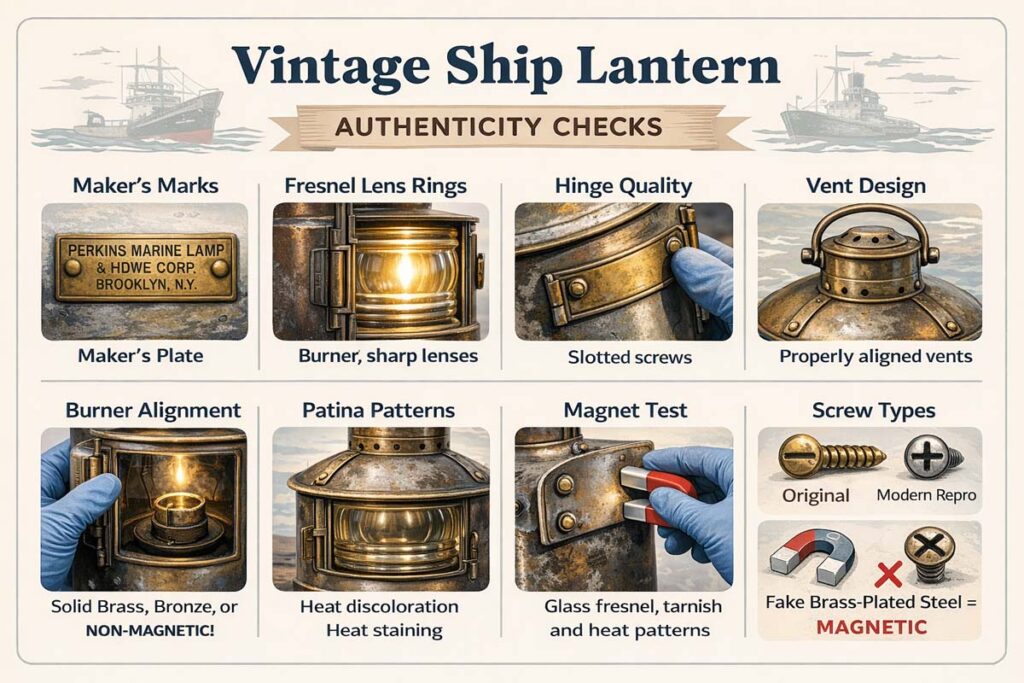
- Run a magnet test on “brass” bodies. A strong magnet pull often indicates plated steel rather than solid brass or bronze.
- Check fasteners and threads. Mixed modern Phillips screws and shiny machine bolts often signal heavy rebuilding or reproduction.
- Look for seawear patterns. Salt pitting, edge wear, and heat staining should appear where the lantern worked.
- Photograph every mark and detail. You will need them to verify maker, model, and age.
What “authentic” usually means in ship lanterns
Collectors often mix three different things:
- Original marine service lantern: made for real navigation or deck use, built to regulation patterns of its time.
- Vintage but repurposed: authentic body, later electrified or modified for home use.
- Decor reproduction: made to look nautical, often thin brass, exaggerated patina, vague labels.
Repurposed does not mean fake. It just means you value it differently and restore it differently.
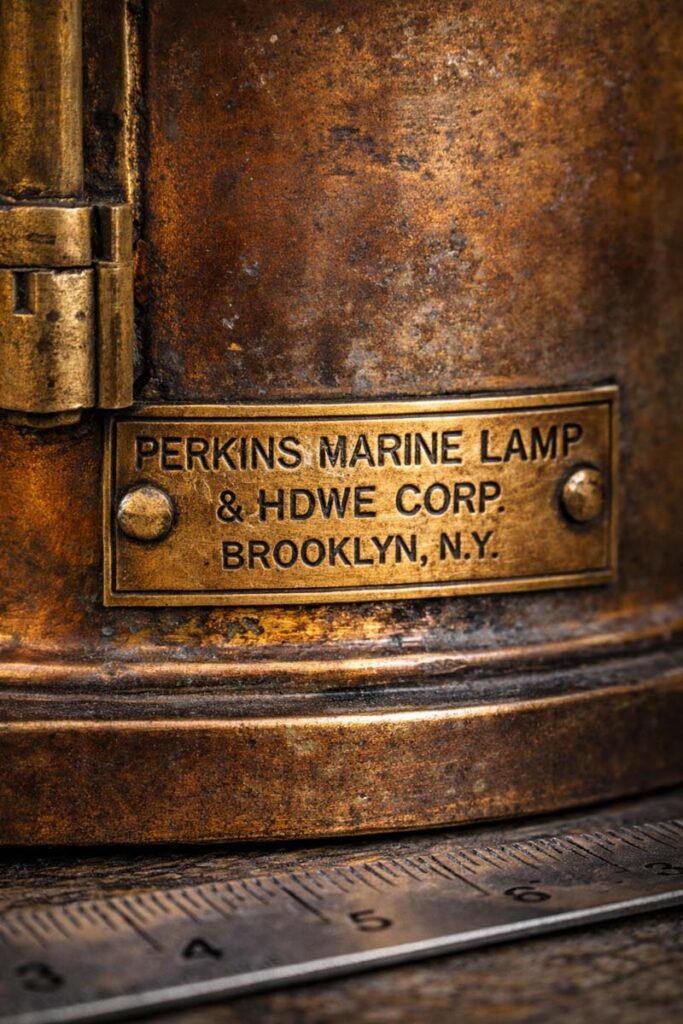
Maker’s marks and data plates: where fakes get sloppy
Most serious marine lantern makers marked their work somewhere, even if it is small. Dealers and collectors commonly see makers like Perkins, Perko, Wilcox Crittenden, National Marine Lamp Co., Triplex, and others across different eras.
Where to look for marks
- Top cap rim and chimney
- Door edge or inner frame
- Base plate underside
- Mounting bracket and yoke
- Burner gallery or wick adjuster
- Lens frame or guard bars
What good markings tend to include
- Maker name or trademark
- City and country
- Model or purpose tag (port, starboard, masthead, anchor)
- Patent reference or serial style numbering on some types
Common fake-mark behavior
Some sellers add plates or tags to inflate value. Fake maker or owner tags are a known problem in lantern collecting, and they sometimes appear even on otherwise real antiques.
If the plate looks freshly punched, overly crisp, or attached with brand-new rivets, slow down.
A practical verification tip: many U.S. patents were historically issued on Tuesdays, so collectors sometimes cross-check a stamped patent date against a perpetual calendar as a quick sanity check.
That does not prove authenticity by itself, but it can expose lazy fakes.
Build quality tells the truth fast
Authentic ship lanterns were tools. Their construction usually shows that.
Metal thickness and joins
- Real: heavier gauge brass, bronze, copper, or hot-dip galvanized steel; tight seams; strong soldering or brazing; solid hinge pins.
- Repro: thin sheet brass that “oil cans” when pressed; misaligned vents; uneven gaps; decorative-only rivets.
Venting and heat path
Oil and kerosene lanterns needed controlled airflow. Poorly aligned vent holes and mismatched internal parts are classic signs of fantasy builds.
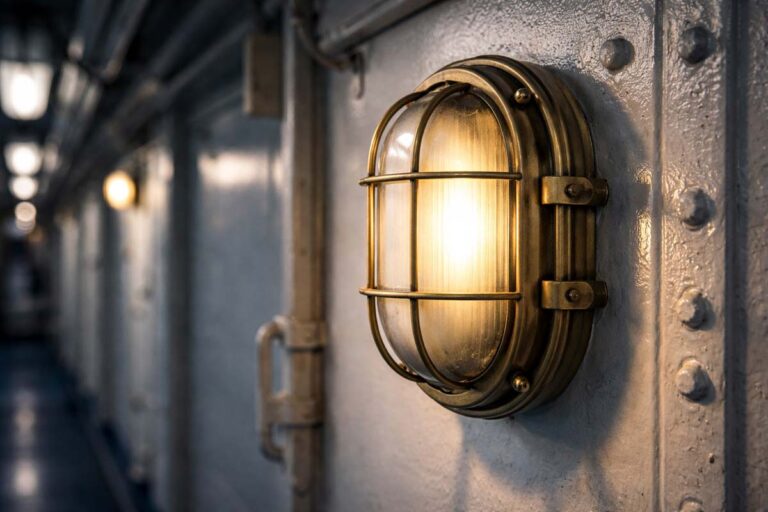
Lens and glass: how authentic Fresnel looks and feels
Many navigation lanterns use Fresnel lenses because they focus and spread light efficiently. When you see a proper Fresnel lens in a marine lantern, it is usually integrated into a robust frame and guard system, not just glued in place.
What to check:
- Fluting sharpness: Older Fresnel glass often has crisp rings with minor wear, not rounded mushy grooves.
- Color correctness: Port is red, starboard is green. On many originals the color is in the glass or a proper insert, not a thin film.
- Fit and retention: The lens should seat without rattling. Loose lenses often mean missing original hardware or a replaced lens.
- Damage pattern: Chips on edges and light internal soot haze are normal. Perfect glass on a heavily “aged” body can be suspicious.
Burner, wick, and electrification: the inside must match the story
A lot of authentic lanterns were later electrified for restaurants and homes. That is common. The key is whether the conversion was honest and reversible.
Signs of an original oil setup
- Correct burner scale for the lantern body
- Wick adjuster and proper gallery fit
- Soot patterns consistent with heat rising to the vent
Red flags inside
- Random modern lamp holder screwed into thin sheet metal
- Burner that does not align with the lens center
- Incorrect wick type for the burner design, especially if everything else claims “period correct”
If a seller claims “all original,” ask for clear photos of the burner, wick adjuster, and the underside of the top vent.
Patina: honest age versus chemical aging
Natural aging is uneven because the sea is uneven.
Honest wear usually shows:
- Brighter highlights where hands carried it
- Darker oxidation in corners and under rims
- Heat discoloration near vents and chimneys
- Salt pitting that follows drip lines and exposure edges
Artificial aging often shows:
- Same color everywhere, even in protected recesses
- Overdone blackening that wipes off on a cloth
- “Antique looking” sales language that avoids specifics
A quick reality check: brass is commonly used for fakes because it is easy to chemically “age.”
Spotting common reproduction styles
You will see a few repeat offenders in the market:
- Thin brass imports with dramatic patina: pretty on a shelf, but the doors feel light and the vents look rough.
- “Rare” plates with famous names: value is pushed by the badge, not the build.
- Mixed-era assemblies: real old lens, new body, random burner, all sold as “salvage.”
When you see a famous maker name, verify it against known maker histories and collections. For example, Perko’s own company history references the 1916 start of Perkins Marine Lamp Corporation in Brooklyn after Frederick and Louis left National Marine Lamp Company.
For Wilcox, Crittenden & Co., museum collection records note the company was established in 1847 and became a major U.S. marine hardware manufacturer by the late 1880s.
These references help you judge whether a claimed date and a claimed maker make sense together.
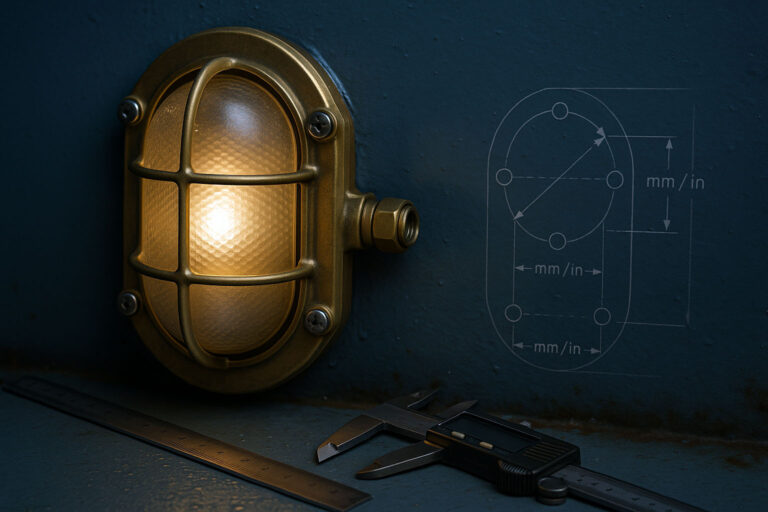
Buying online: what to request before you pay
Ask for specific photos and measurements. Vague listings are where you overpay.
- Clear photos of every mark, tag, and stamped area
- Close-ups of hinges, latches, vent holes, and screws
- The interior: burner or socket, mounting points, and base
- Lens close-up showing fluting and edge thickness
- Height, width, and weight if possible
- A photo with the door closed showing alignment
If the seller refuses interior photos, assume there is a problem inside.
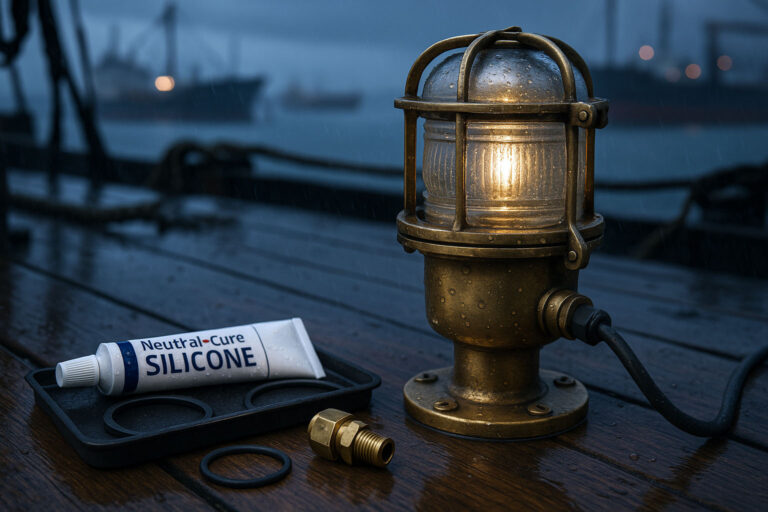
Restoration choices that protect value
Collectors pay for originality and integrity, not mirror shine.
- Avoid aggressive polishing that erases stamps and rounds edges.
- Clean gently, stabilize corrosion, and keep original hardware when safe.
- If rewiring, use marine-grade components and keep the old parts labeled in a bag.
At Marine Salvage & Antiques Enterprise, we see many shipyard-sourced lanterns from Bangladesh breaking yards that were working pieces first and decor second. That background helps because we expect hard use, repairs, and field modifications. Authenticity is rarely “perfect.” It is usually consistent.
A simple “authenticity score” you can use on the spot
Use this as a quick gut check.
- Marks and maker details match the build quality: strong positive
- Lens, body, and burner all belong together: strong positive
- Wear looks functional, not theatrical: strong positive
- Badge looks new or suspiciously crisp: negative
- Thin brass body with sloppy vents: negative
- Magnet sticks strongly to “solid brass”: negative
If you land in mixed territory, price it as a repurposed or partly rebuilt lantern, not a museum original.
Final thought
The fastest way to identify an authentic vintage ship lantern is to stop looking at the patina first. Look at engineering first. Real marine lanterns show purpose in their vents, hinges, lens retention, and internal alignment. When the outside tells one story and the inside tells another, believe the inside.