Water Ingress Troubleshooting for Vintage Deck Lamps
Salt air, rain squalls, and temperature swings are brutal on old ship lights. If water keeps sneaking into your vintage deck lamp—fogging the lens, tripping breakers, or corroding sockets—this guide is for you. We’ll walk step-by-step through what to check, why it matters, and exactly how to fix it without ruining the lamp’s character. Think practical, not fussy: simple tests, the right sealants, better gaskets, and smarter cable entries. Whether your light is solid brass, cast aluminum, or galvanized steel, you’ll leave with a plan to stop leaks, prevent condensation, and keep that nautical glow reliable in real weather conditions.
What “water ingress” really means (and why it matters)
Water ingress is any liquid water entering the housing—through the lens bezel, hinge, latch, body seam, mounting holes, or cable entry. It’s different from condensation, which is moisture forming inside because of temperature swings. Ingress causes rusted screws, green copper oxide, blown bulbs, and GFCI trips. Condensation clouds the lens and slowly corrodes contacts. You care because moisture lowers insulation resistance, makes breakers nuisance trip, and ruins original parts that are hard to replace. With good gaskets, smart venting, and a proper cord grip, most old deck lamps can handle real rain and spray again without turning them into modern-looking fixtures.
Fast symptom → likely cause map
- Fogged lens after cool nights: Normal condensation or blocked vent; sometimes micro-leaks at lens gasket.
- Water pooling in the base: Missing drain/weep hole, unsealed mounting screws, or failed body gasket.
- Corroded socket or burned contacts: Leaks at cable gland or vertical seam; also wicking along old cloth wire.
- Streak marks inside glass: Drips from bezel or hinge area during wind-driven rain.
- Rust trails at mounting feet: Water entering through screw holes into housing cavity.
- Breaker/GFCI trips after storms: Live parts getting damp; inadequate grounding; perished grommets.
Use this as your starting guess, then verify with the checks below.
Tools and materials that actually help
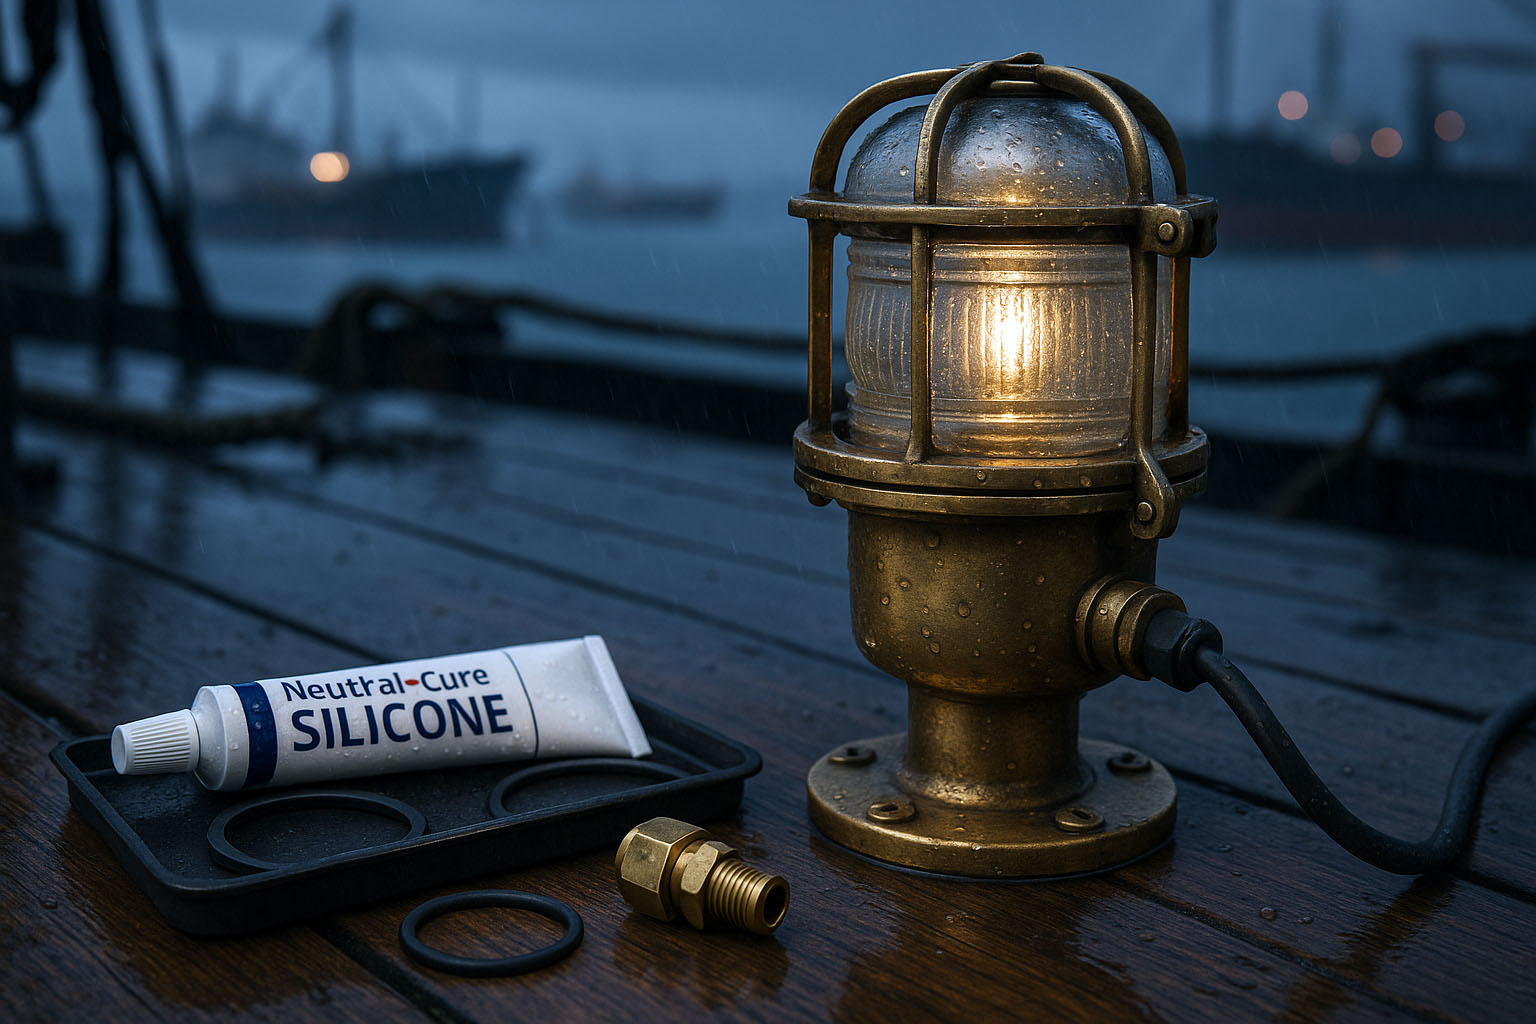
- Neutral-cure silicone (not vinegar-smelling types) for glass-to-metal seams.
- Butyl tape for non-permanent flange sealing.
- Marine sealant (polyurethane/silane blend like 4200/4000 UV) for exterior screw heads.
- Silicone grease (Dow 111 style) for O-rings and gaskets.
- Replacement gaskets: nitrile or EPDM (3–5 mm / 1⁄8–3⁄16 in).
- IP68 cord grips/glands in brass or stainless; PG, M, or NPT threads to match.
- Desiccant packs and a hydrophobic breather vent (membrane type).
- Talc or chalk, blue painter’s tape, paper towels, spray bottle, low-pressure hose.
- Multimeter; ideally an insulation tester (megger) if you’ve got one.
Step-by-step inspection (don’t skip order)
- Power off and open the lamp. Photograph the as-found state. Look for green/white crust on terminals and water tracks.
- Check the lens seal. Is there a flat gasket, rope gasket, or dried sealant? Press gently: brittle = replace.
- Inspect hinge and latch. Lids need even pressure. Bent latches or uneven bezels won’t compress gaskets.
- Look for a body seam. Many housings split horizontally. Old fiber gaskets collapse; measure thickness and note imprint.
- Cable entry. If you see a loose grommet or plain hole, that’s your leak. You want a proper cord grip with compression.
- Mounting screws. If the screws penetrate the housing, water can wick along threads.
- Vents and drains. Find the tiny breather or weep hole. If clogged, clean; if missing, plan a controlled solution.
- Socket and wiring. Cloth or brittle PVC wicks water; look for verdigris. Replace if questionable.
- Surface condition. Hairline cracks in cast aluminum, or pitting in brass, can leak along capillary paths. Mark suspect spots.
Simple leak tests you can do at home
- Talc test: Dust gasket lines and seams with talc, reassemble, and mist water. Wet tracks show the path.
- Paper-ring test: Line the interior perimeter with paper towels, close up, spray from different angles for five minutes, then open and inspect where it got wet.
- Dye test: A few drops of food-colored water along the bezel while the light is tilted can locate capillary leaks.
- Condensation check: Warm the fixture with a low-watt bulb for 15 minutes, then take it into cooler air. If fog forms quickly and stays, you need venting or desiccant.
Fixing lens and body seals (the biggest wins)
- Replace the gasket instead of stacking sealant. Cut a new ring from 3–5 mm (1⁄8–3⁄16 in) EPDM or nitrile. Use the old one as a template; joints should be scarfed, not butted.
- Grease lightly. A thin film of silicone grease improves compression and future service, but don’t drown it.
- True the mating faces. Lightly lap warped bezels on 400-grit paper over glass to restore flatness.
- Use neutral-cure silicone only at the glass-to-bezel interface if needed; run a tiny interior bead, tool it, and let cure 24 hours.
- Body seam: If there’s a flange, set a fresh flat gasket or use butyl tape so the fixture stays serviceable.
Cable entries, glands, and strain relief
- Upgrade to a real cord grip. Choose brass or stainless IP68 glands sized to your cable. Tighten the compression seal: hand tight plus a small wrench turn.
- Thread sealing: For metal threads, use PTFE tape or a non-hardening thread sealant on the external threads, not on electrical contacts.
- Add a drip loop. Before the cable enters the lamp, make the cable dip below the entry so water falls off.
- Internal grommet + strain relief. Add a grommet at the inner bulkhead and tie a strain knot or use a clamp so tugging the cable doesn’t open the seal.
Condensation control without choking the lamp
Even with perfect seals, temperature swings pull moist air in and fog the lens. Give the lamp a way to breathe without letting water in:
- Hydrophobic breather vent. Install a membrane vent (M8/M12 style) high on the housing; it equalizes pressure and blocks liquid water.
- Weep hole at the lowest point. A 2–3 mm (5⁄64–1⁄8 in) drain prevents puddling. Keep it oriented down after installation.
- Desiccant packet. One small pack inside (not touching live parts) handles humidity spikes. Replace every season.
Sealants: what to use, what to avoid
- Use: Neutral-cure silicone (oxime), butyl tape for flanges, polyurethane/silane marine sealant for exterior screw heads and mounting.
- Avoid: Acetoxy silicone (vinegar smell) around brass/copper; it encourages corrosion. Avoid permanent adhesives like 3M 5200 on service joints—you’ll curse future you. Don’t smear RTV over everything; it hides cracks and makes later repairs harder.
Electrical safety and realistic IP goals
Vintage fixtures weren’t built to modern IP ratings, and many have vents by design. After good restoration, IP54–IP55 performance is realistic for most deck lamps; some robust patterns can approach IP65 with proper glands and gaskets. Always:
- Rewire with marine-grade cable and a grounded socket (E26/E27) rated for 110–120 V or 220–240 V as needed.
- Use a GFCI/RCD circuit outdoors.
- If you have a megger, check insulation resistance after drying; you want readings in the megohm range.
- Never claim CE/UL listing unless you truly have it.
Mounting tips that stop leaks before they start
- Seal the screws. If mounting screws pierce the housing, dab marine sealant under heads and in holes.
- Gasket the base. A thin EPDM pad between base and bulkhead blocks wind-driven rain from wicking.
- Orient for drainage. Hinge up, latch down; weep hole at the absolute lowest point when installed.
- Standoff from wet decks. On horizontal surfaces, add a 3–5 mm (1⁄8–3⁄16 in) spacer ring so water can’t pond against the base.
Maintenance schedule (quick and doable)
- Every 6 months: Rinse with fresh water, check latch tension, clear vents/weep holes, inspect gland tightness.
- Annually: Replace desiccant, re-grease gaskets lightly, test the GFCI, and open the housing for a look at the socket and contacts.
- After storms: Quick wipe-down and visual for water tracks; if found, repeat the talc test and address immediately.
Common pitfalls we see all the time
- Over-polishing mating faces until they dish and won’t seal.
- Painting over gasket seats, then wondering why the seal failed.
- Using aquarium silicone (acetoxy) on brass—green corrosion follows.
- Skipping a drip loop and blaming the bezel.
- Sealing the vent entirely, which solves leaks but creates chronic condensation.
When to call a pro (or ship it to a shop)
If you spot cracked castings, severe pitting around gasket seats, or persistent trips even after drying and rewiring, get help. A shop can machine new seats, braze repairs, or fabricate custom O-rings. If you need rewiring to a specific voltage or certification for a commercial venue, outsource it. You’ll save the fixture—and your time.