How to String Deck Lights So They Last All Season
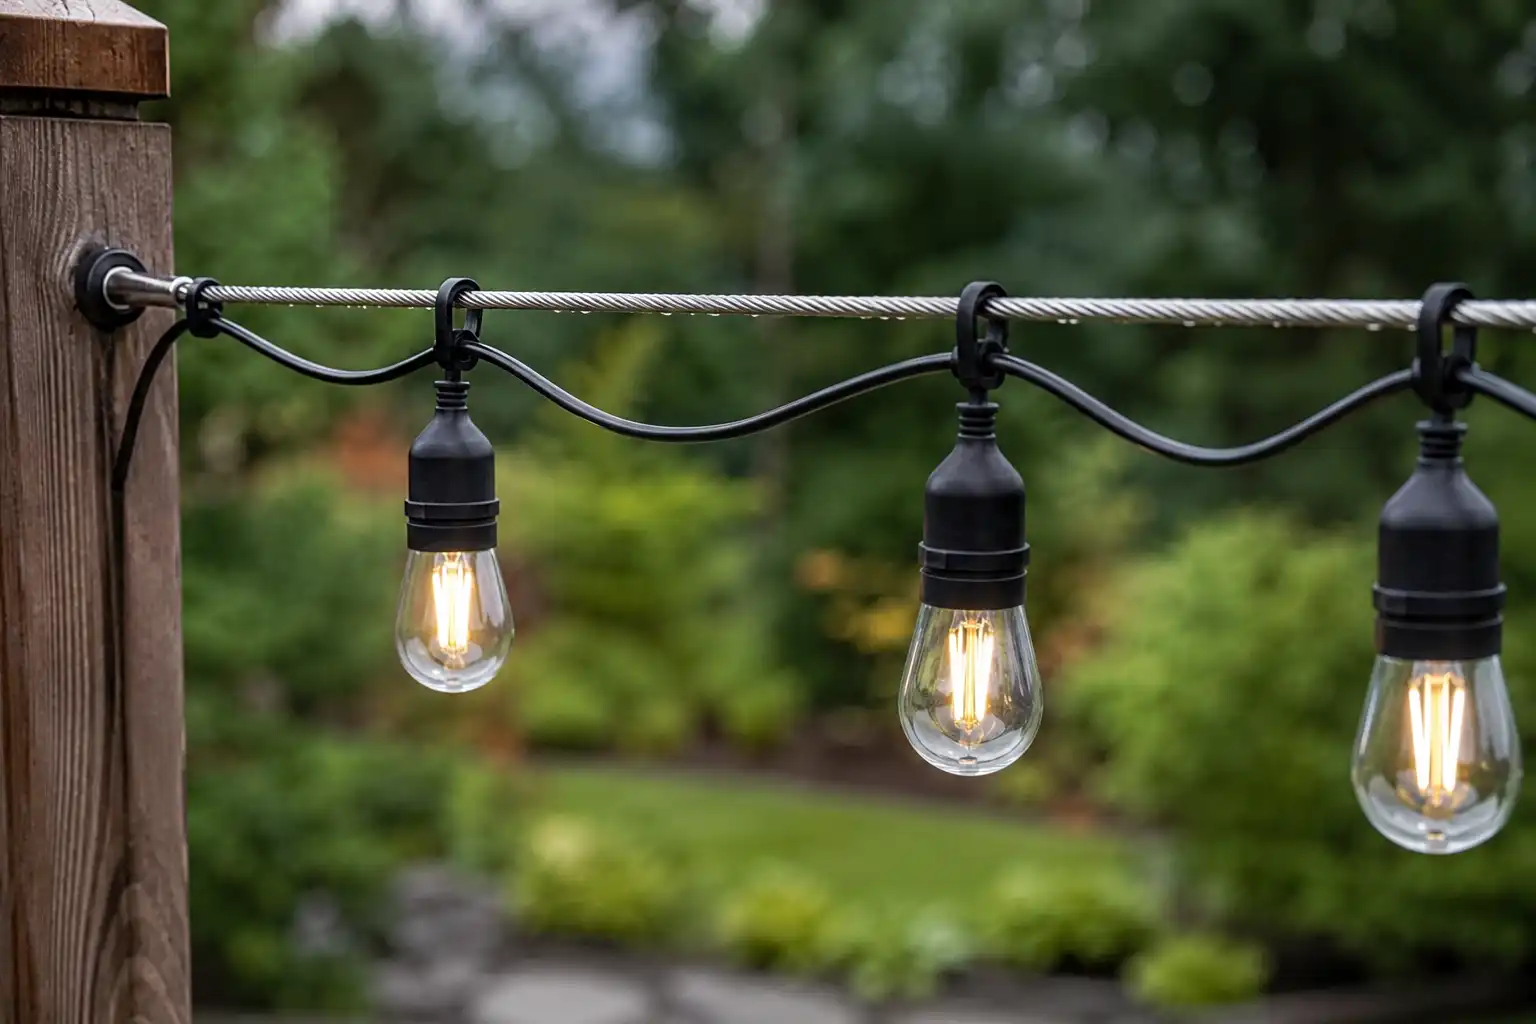
I strung my first run of deck lights over the roof terrace at our yard office in Chattogram. Eleven bulbs, one long span, no support wire. Two weeks of monsoon wind pulled the sockets loose and dropped the line into a planter. The second attempt used a stainless cable. It is still up. That is the short version of everything below. The cable carries the weight. The light cord just rides along.
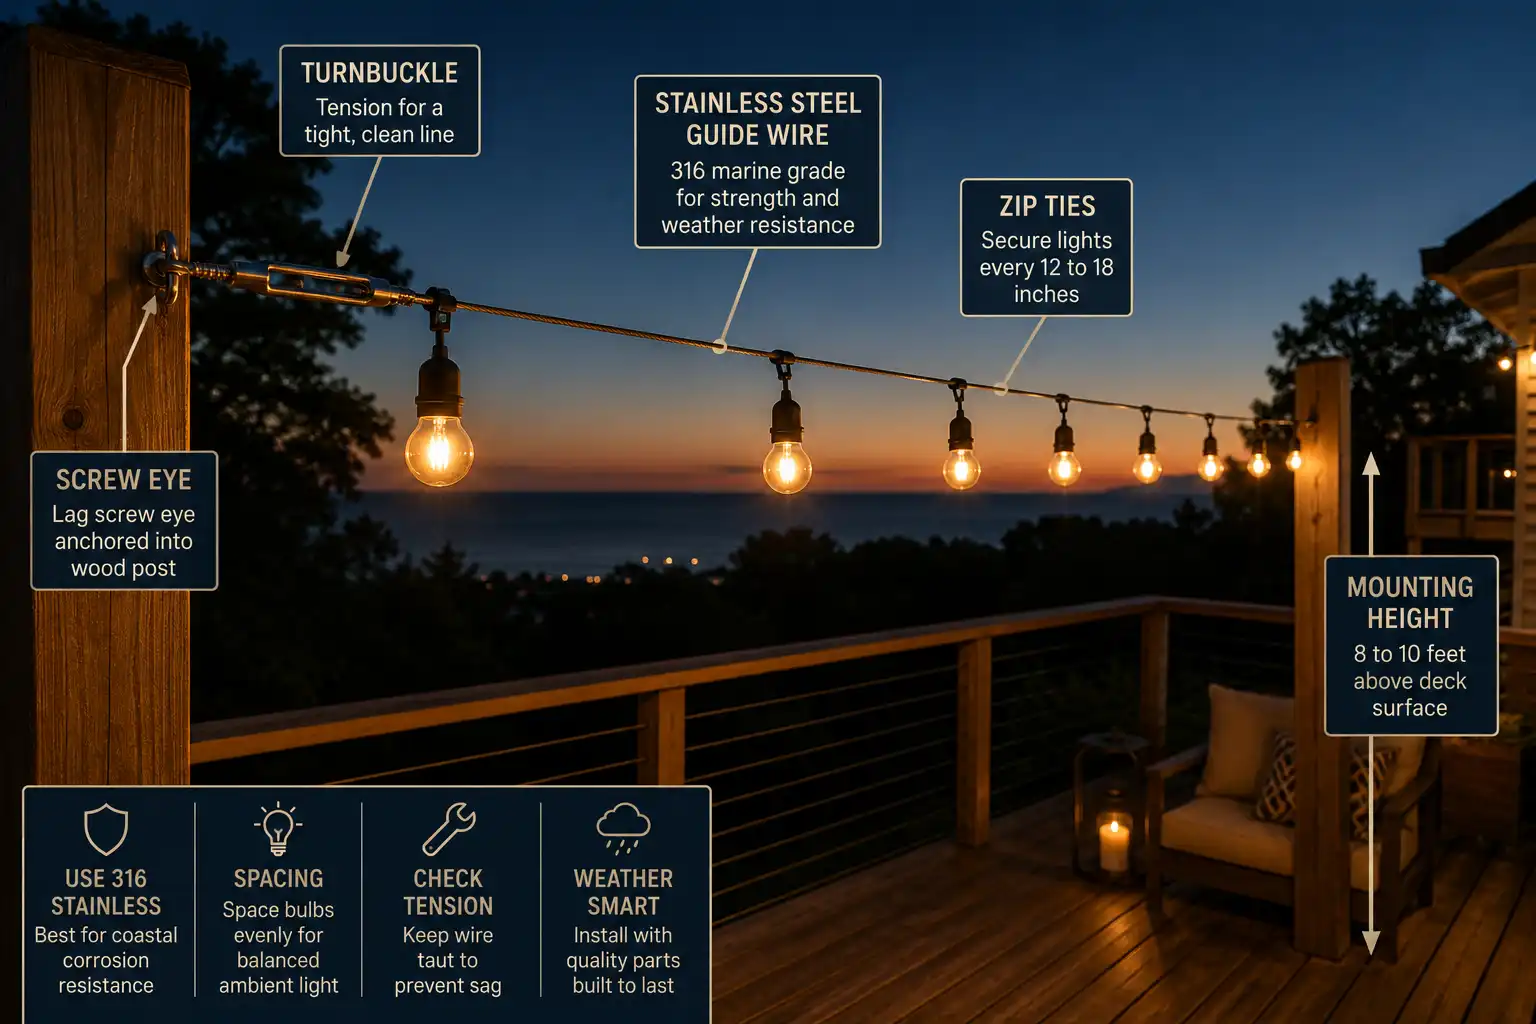
Run a taut stainless steel guide wire between two solid anchor points, then clip the light cord to that wire. Set your anchors 8 to 10 feet above the deck, pull the sag out with a turnbuckle, and tie the cord on every 12 to 18 inches. Power the run from a GFCI protected outdoor outlet with a weatherproof cover.
Plan the Layout Before You Buy
Measure first. Walk the deck with a tape and write down every span.
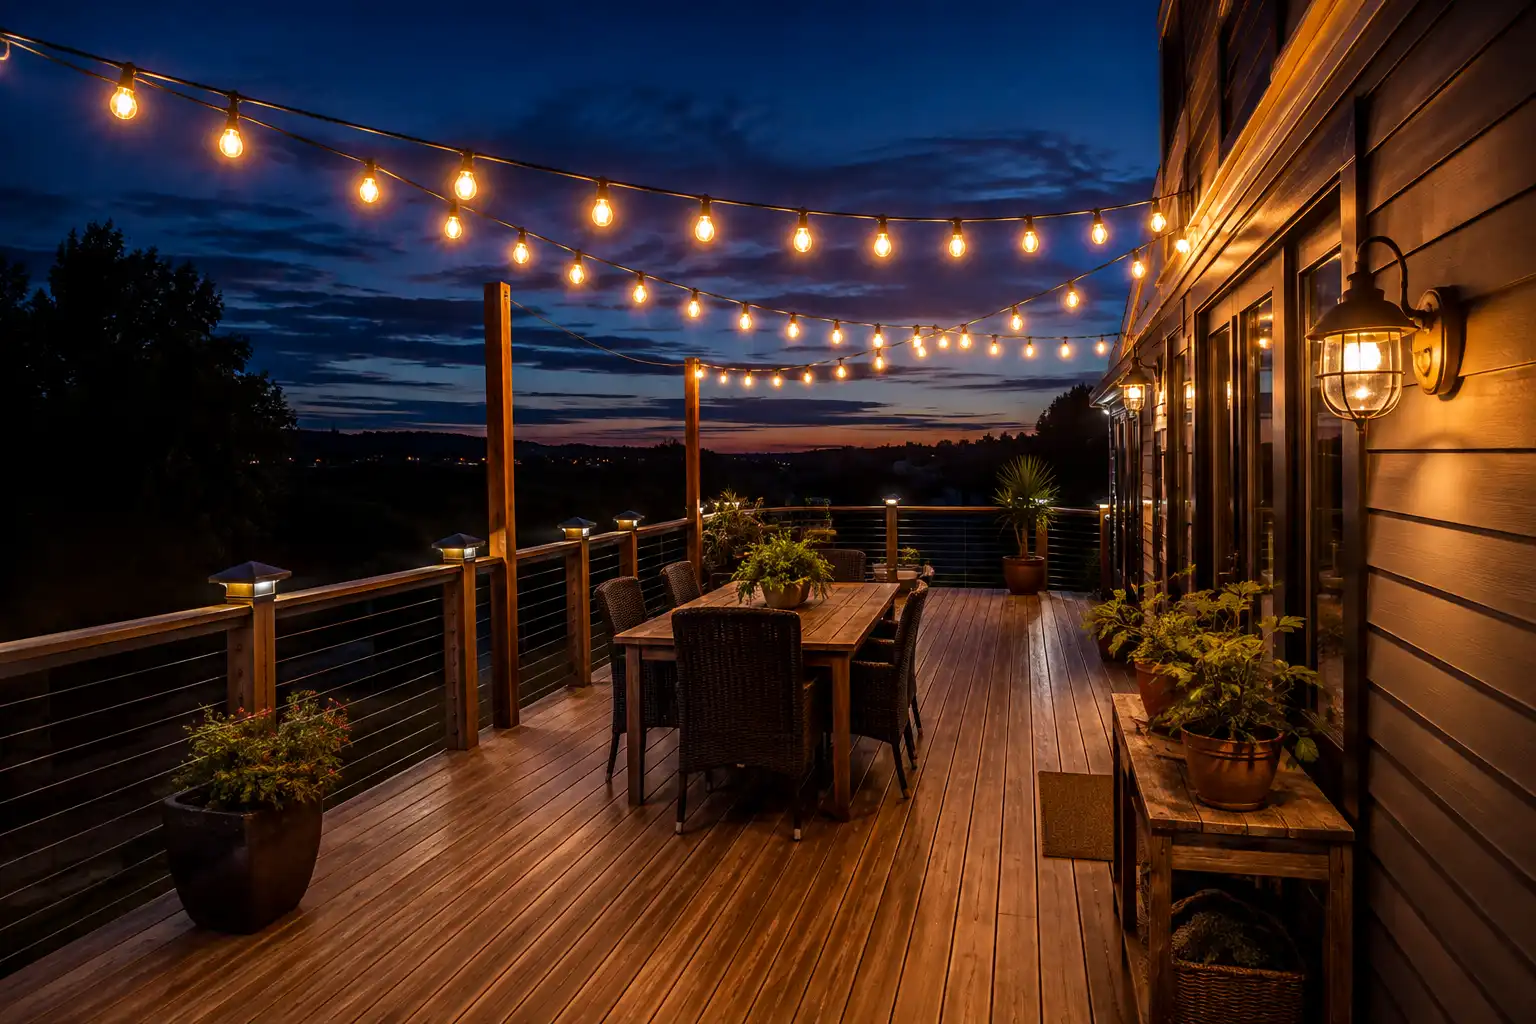
Three layouts cover almost any deck. A straight run crosses a narrow porch. A perimeter run follows the railing. A zigzag crosses back and forth over a table for even light.
I mock the lines up with cheap rope first. Ten minutes of that shows the height, the sag, and where a bulb will sit in someone’s face.
Add 12 inches of cable per span for looping back at the anchors. Add 10 percent to the bulb string for the drape between ties, plus enough to reach power.
The Hardware That Actually Holds
- Outdoor rated string lights, IP65 or better, with shatterproof LED bulbs
- Stainless steel aircraft cable, 1/16 inch under 20 feet, 3/32 inch for longer spans
- Two stainless screw eyes per span
- One turnbuckle and two wire rope clips per span
- UV rated zip ties or S hooks
- Drill, bits, pliers, wire cutters, tape measure, ladder
- Outdoor rated extension cord
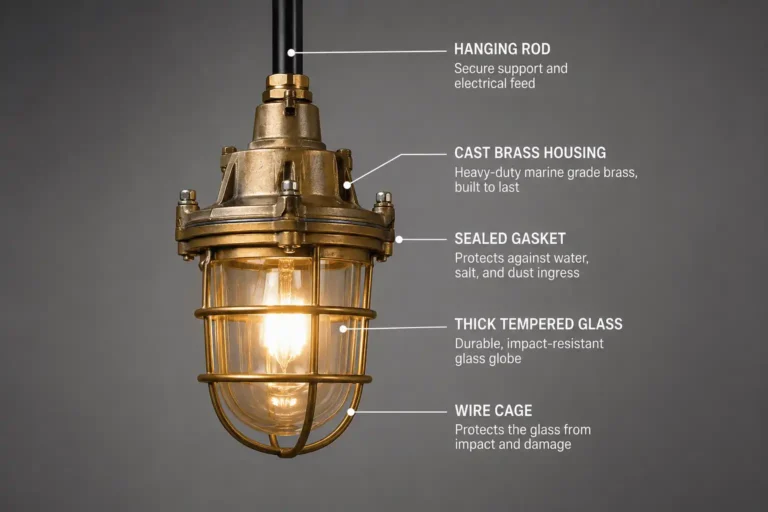
Buy stainless, not plain galvanized. Cheap plating bleeds rust down a post in one coastal season. That is the same reason I favor bronze and brass on salvaged fixtures, and my notes on brass, bronze, and aluminum near salt air explain the difference.
How to String Deck Lights Step by Step
- Mark the anchor points. 8 to 10 feet above the deck suits walkways. 6 to 7 feet feels warmer over a table. Keep 7 feet of headroom where people walk.
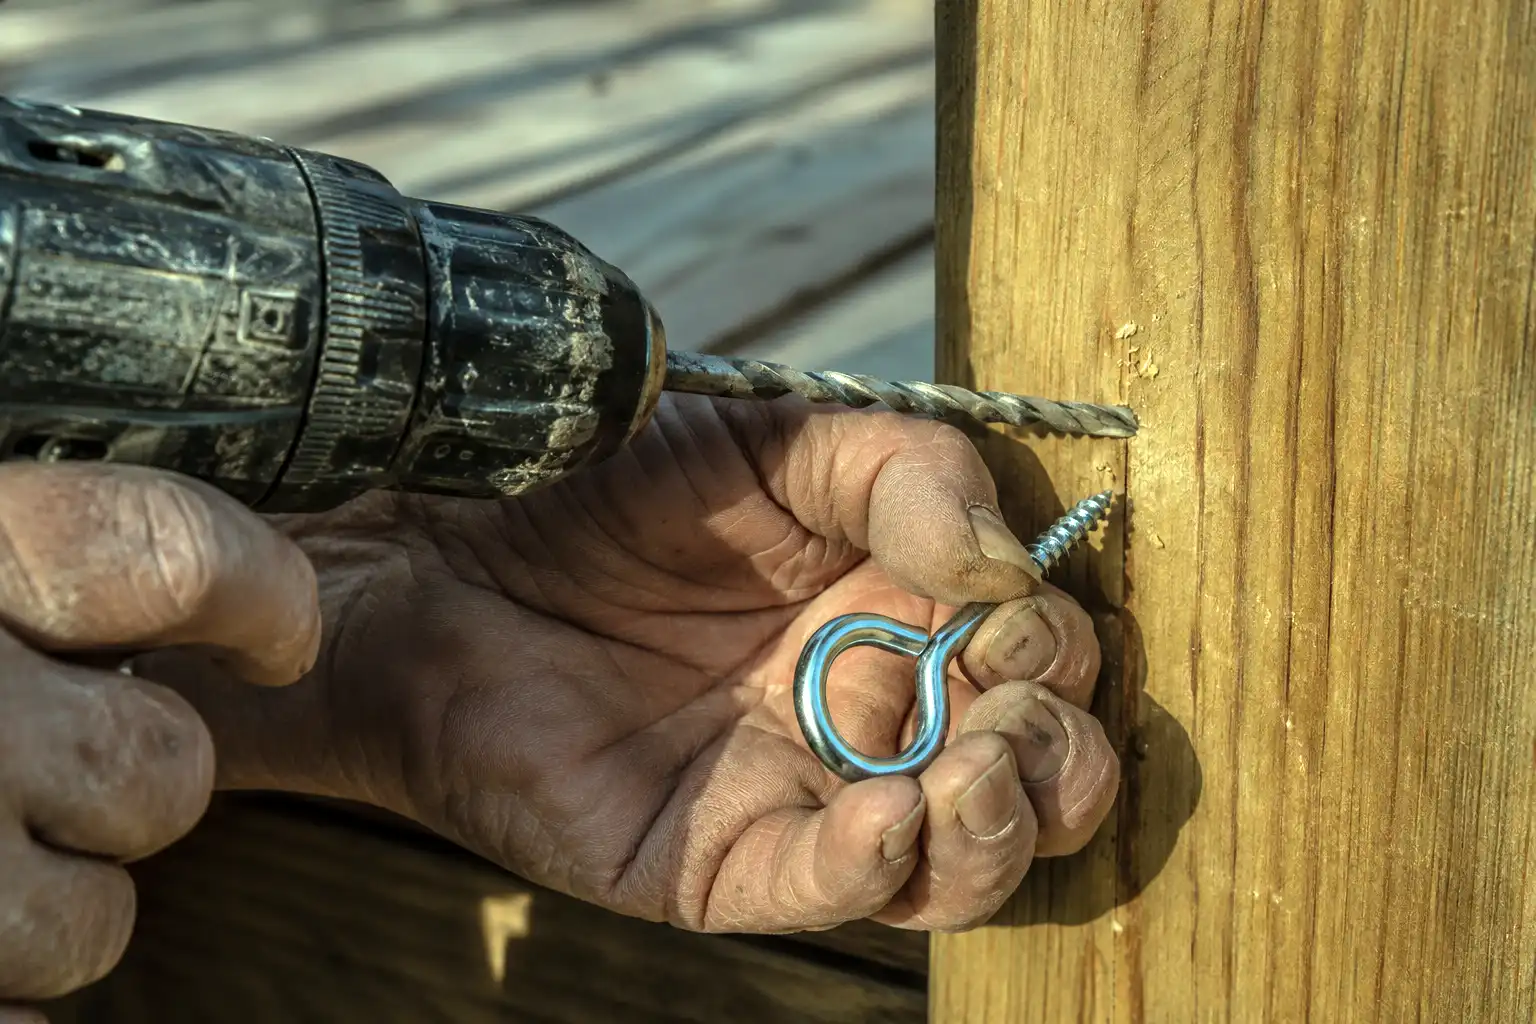
- Pre-drill pilot holes. Turn the screw eyes in by hand. Use posts, beams, joists, rim framing, or solid eaves. Never gutters, fascia trim, or soft wood.
- Set the cable. Loop it through the first eye, fold the tail back, crimp two wire rope clips. Run it across, through the turnbuckle at the far eye, crimp again.
- Tension it. Tighten the turnbuckle until the cable plucks like a guitar string. Firm, not screaming tight.
- Test on the ground. Plug the lights in, check every socket, unplug. Then tie the cord to the cable every 12 to 18 inches, starting at the power end. Leave a soft dip between ties.
- Bring the cord down. Run it along a post, and leave a drip loop below the plug so rain runs off instead of in.
If You Have Nothing to Anchor To
Set 4×4 posts in weighted planters or concrete filled buckets, then strap them to the railing. Two posts and one house wall give you a triangle. On longer paths, add a support point every 15 to 25 feet.
Power, Wattage, and Weather
Use a GFCI protected outdoor receptacle with an in-use cover. No indoor cords, and nothing run under a door or through a window.
UL tags cap one end-to-end run at 210 watts. Divide 210 by the wattage on your strand tag to get your limit. A 45 watt incandescent strand gives you four. A 5 watt LED strand gives you twenty or more. The tag lists the maximum connections, so read it.
Keep the whole circuit under 1,440 watts as well. That is 80 percent of a 15 amp circuit, and it leaves you a safe margin.
Ratings matter too. IP44 handles light rain. IP65 is dust tight and rated against water jets, which is what you want outside. LED bulbs stay cool and take knocks. Incandescent glass looks lovely and breaks in hail.
Mistakes I See Most Often
Hanging bulbs on the cord alone tops the list. The cord stretches, sockets pull open, and water gets in. I chase that same failure on old fixtures, and finding leaks in vintage deck lamps shows where it usually starts.
Pulling the string dead tight is next. Tension cracks sockets and kills the drape.
Then stapling through insulation. A staple set too deep nicks the conductor and waits a year to bite you.
Last, indoor lights outdoors. For a sense of what a proper outdoor seal looks like, how well salvaged marine fixtures keep water out is a fair comparison.
Adding a hardwired fixture on the wall behind the string? Do that wiring properly. My guide to rewiring an old marine light safely covers what an electrician will ask about.
Final Thought
None of this is difficult. One careful afternoon of measuring, drilling, and tensioning, and you feel the payoff three seasons later when the cable is still tight.
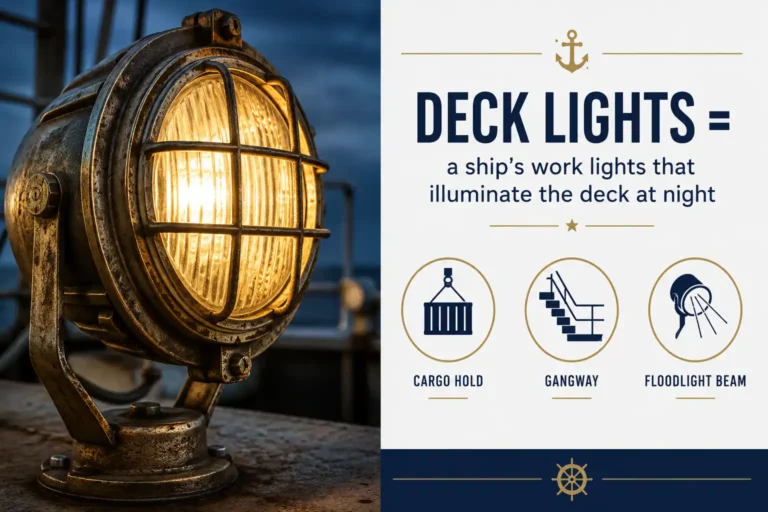
Plenty of people finish the look with a real fixture on the wall behind the string. The floodlights that light a ship’s working deck and our other reclaimed outdoor lighting from decommissioned vessels come off ships right here in Chattogram.
Good luck with it, and enjoy those evenings out on the deck.