How to Install Passageway Lights Without Ruining the Fixture
A cast brass passageway light weighs more than people expect. The ones we pull from ships in Chattogram run three to six pounds, and heavier once the glass and cage go back on. Last year a buyer in Oregon sent me a photo of one hanging crooked off his porch wall. He had used plastic drywall anchors. The fixture had pulled out half an inch in three months. Nothing wrong with the light. Everything wrong with the mounting.
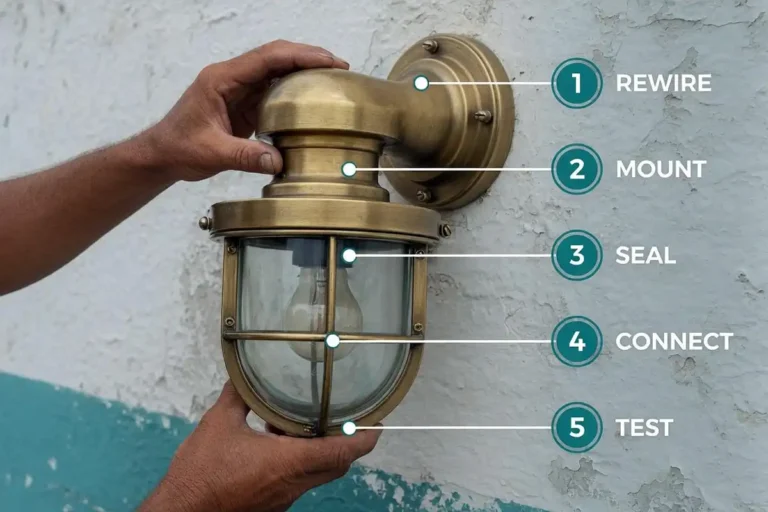
To install passageway lights, rewire the fixture first with new UL-listed wire and a new lamp holder. Mount the backplate to a stud or masonry anchor over a junction box. Then bond the metal body to ground and point the cable gland downward before sealing the backplate with a fresh gasket.
What You Need Before You Install Passageway Lights
Gather everything first. Stopping halfway with a live circuit is how mistakes happen.
- New fixture wire, 18 AWG, rated for lamp heat
- New E26 lamp holder (E27 in Europe)
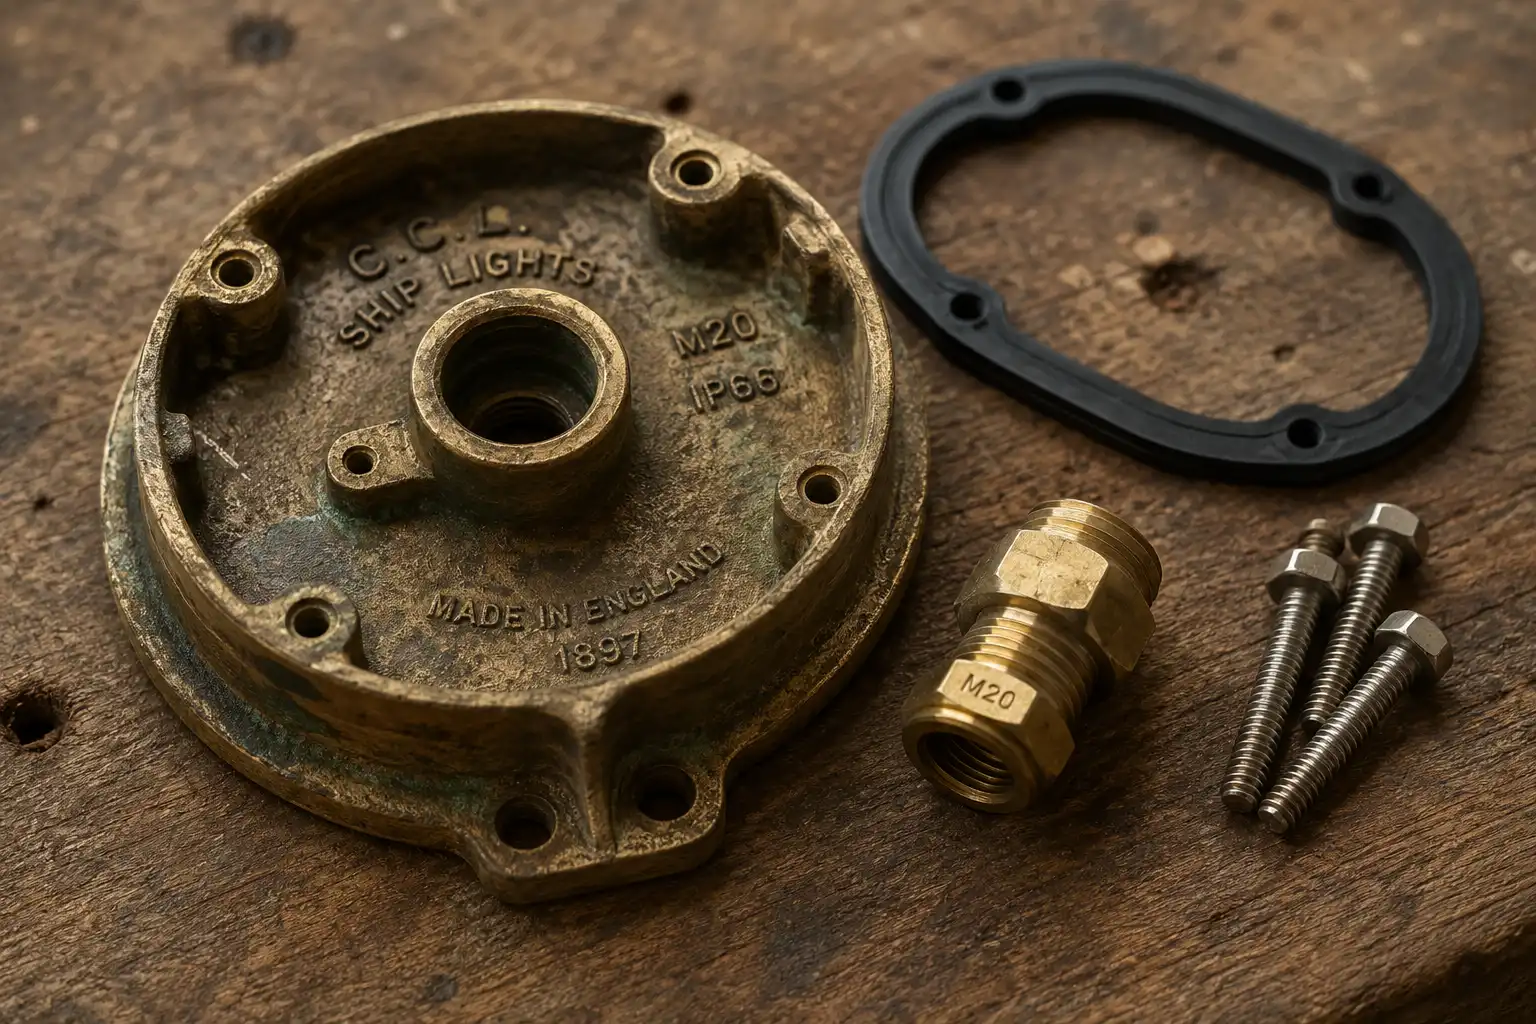
- Replacement gasket, or gasket sheet you can cut
- M20 cable gland if the original is cracked
- Junction box listed for damp locations if the light goes outside
- Toggle bolts, lag screws, or masonry sleeve anchors
- Non-contact voltage tester
- Brass wire brush and penetrating oil
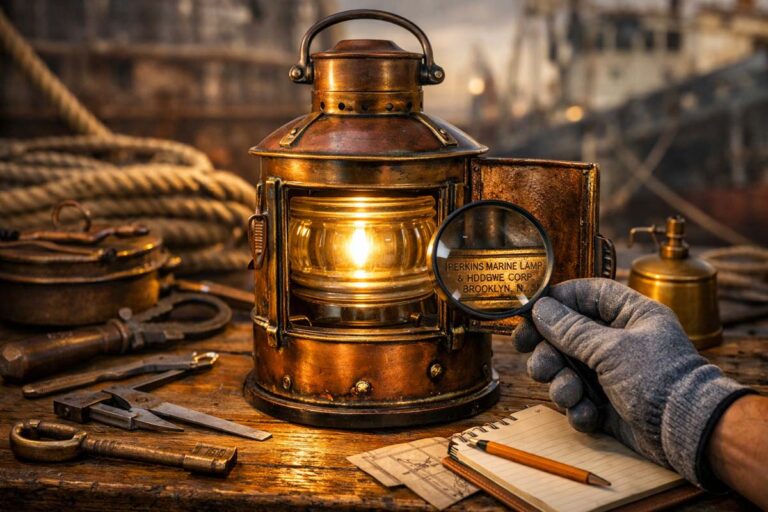
Most fixtures I ship still carry their factory plate. Daeyang, Wiska, Shengan, and Oceanic are the names that come up most often. That plate tells you plenty about what these ship corridor fittings were built to do. Write down the original voltage before you touch anything.
Step 1: Rewire Before You Mount Anything
Assume the old wiring is dead. Ship cable sits in salt air and engine heat for decades, and the insulation goes brittle. I have seen conductors crumble under a thumbnail.
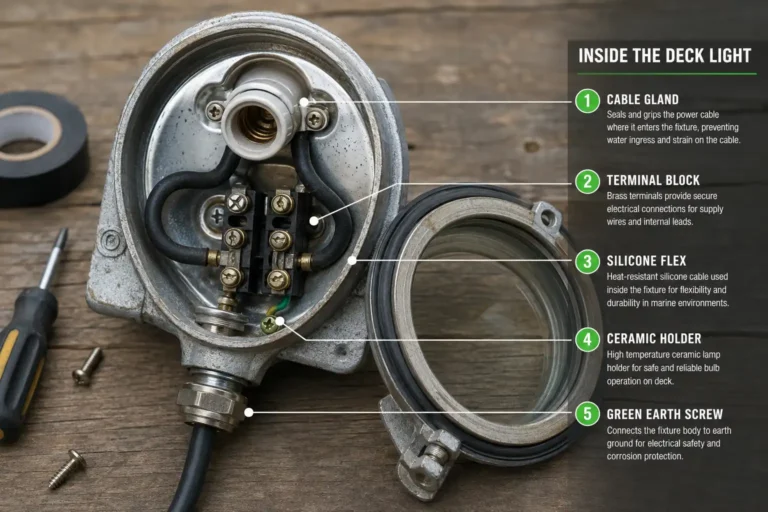
Plenty of these fixtures ran on 24V DC or 220V AC ship circuits. Neither one transfers cleanly to a 120V wall at home. Pull the old wire out completely and fit a new lamp holder. My notes on rewiring a salvaged marine fixture go deeper on conductor sizing. Eighteen gauge carries roughly five amps, which is plenty for one bulb.
Use an LED lamp. Less heat means the gasket and the new insulation last far longer inside a sealed cast body.
Step 2: Set the Height and Check the Projection
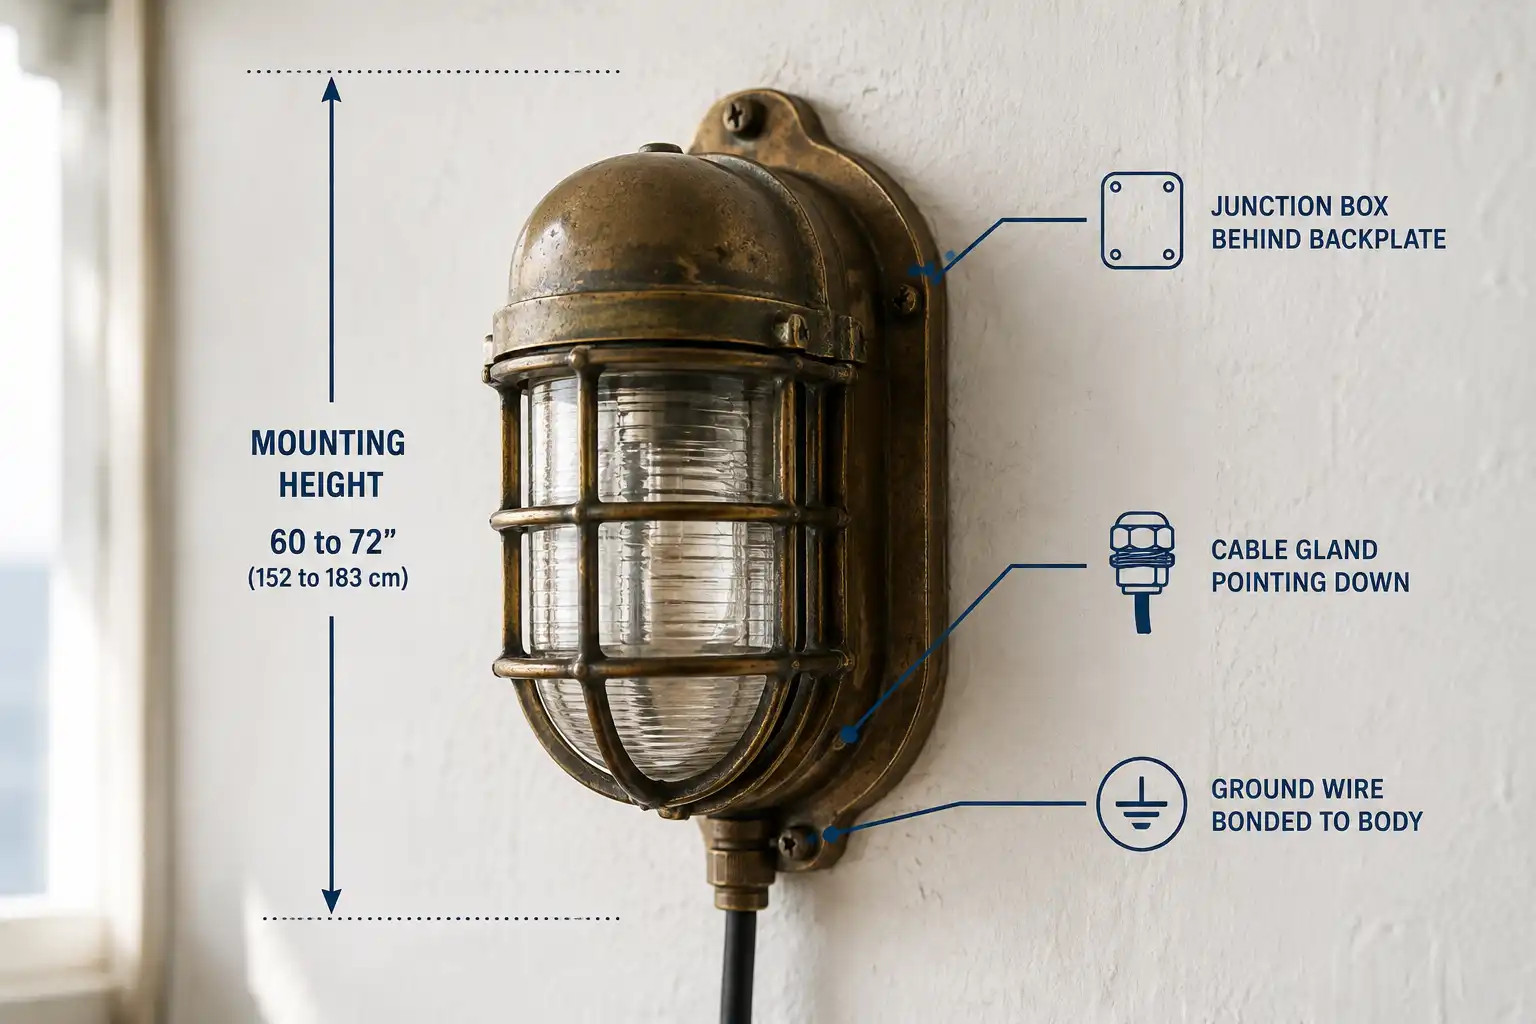
Sixty to seventy-two inches off the floor suits most wall-mounted fixtures. Aboard ship these sat above shoulder height so crew could pass in tight corridors. Copy that logic indoors.
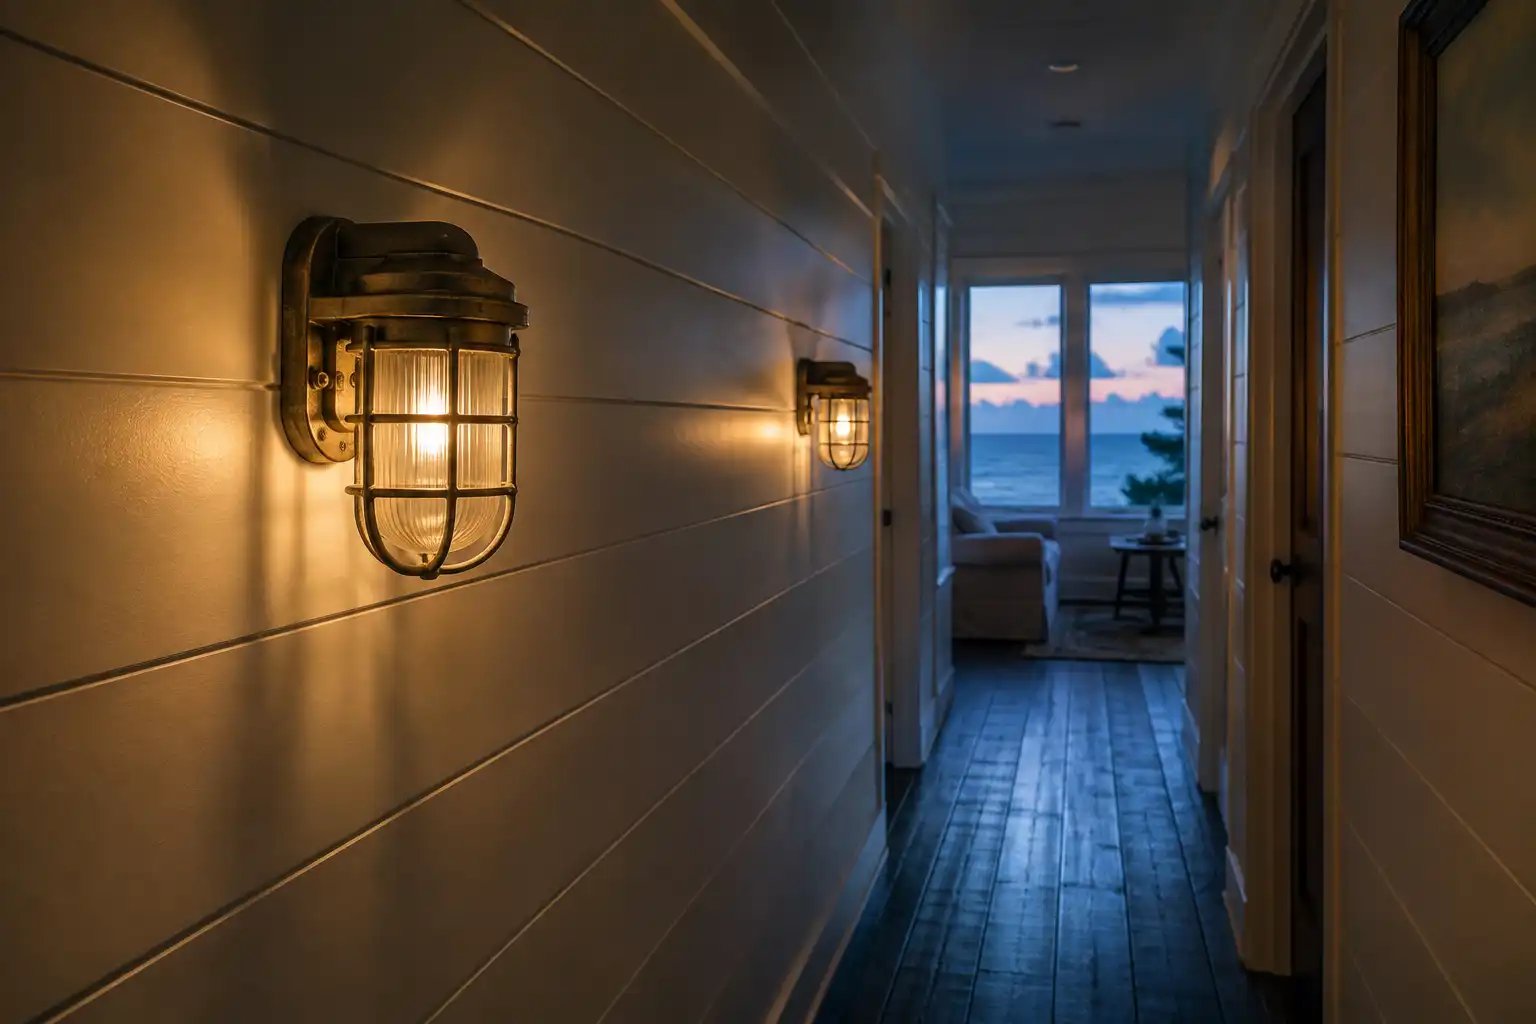
Projection matters more than height in a narrow hallway. Measure how far the housing stands off the wall. Anything past five inches gets clipped by shoulders and suitcases. That flat profile is exactly how these lights earned their keep on working vessels.
For a run of two or more, space them six to eight feet apart. Ship corridors target fifty to one hundred lux for safe walking. That spacing lands close with warm LED lamps. Angled bodies need a second look, since corridor and stairway fittings throw light differently.
Step 3: Mount Into Something Solid
Find a stud. Where there is no stud, use heavy toggle bolts rated well above the fixture weight. Drywall anchors on their own will fail.
On brick or concrete, drill and set proper sleeve anchors. Hold the backplate up and mark through the original holes. Old cast backplates rarely line up with modern box patterns, so mark slowly.
Clean the mating face while the fixture is off the wall. Getting decades of grime off a brass housing is far easier on a bench than overhead.
Step 4: Wire Into a Junction Box
Every splice belongs inside a box. Kill the breaker and confirm with a tester before you open anything.
Join line to line and neutral to neutral. Then ground the metal body. This part is not optional. Brass and aluminum housings must be bonded to the circuit ground, and NEC 250.110 covers that requirement. Outside, the box itself has to be listed for damp or wet locations.
Step 5: Seal the Cable Entry
Point the cable gland down. Water follows gravity, and a gland facing up collects it.
Fit a fresh gasket between the backplate and the wall. Old rubber hardens and stops sealing. Leave a small drip loop in the cable below the gland. Tighten the gland firmly, then stop. Over-tightening crushes the seal and defeats the whole point.
One honest note here. A fixture rated IP56 on a ship will not hold that rating after a home rewire. It is worth understanding how weather resistant these old fittings really are before you mount one in the rain.
Step 6: Test Before Fitting the Glass
Restore power with the globe off. Check that the lamp lights and the switch behaves normally. Then fit the glass and the protective cage.
Tighten the cage bolts by hand feel. Cast lugs snap, and replacements are hard to find.
Final Thoughts
The mounting and the ground wire decide whether this light still looks right in ten years. Everything else is patience and a clean brass brush. Take the extra hour on those two steps.
Good luck with the install, and enjoy the light.