How to Wire Deck Lights the Safe Way (From My Salvage Bench)
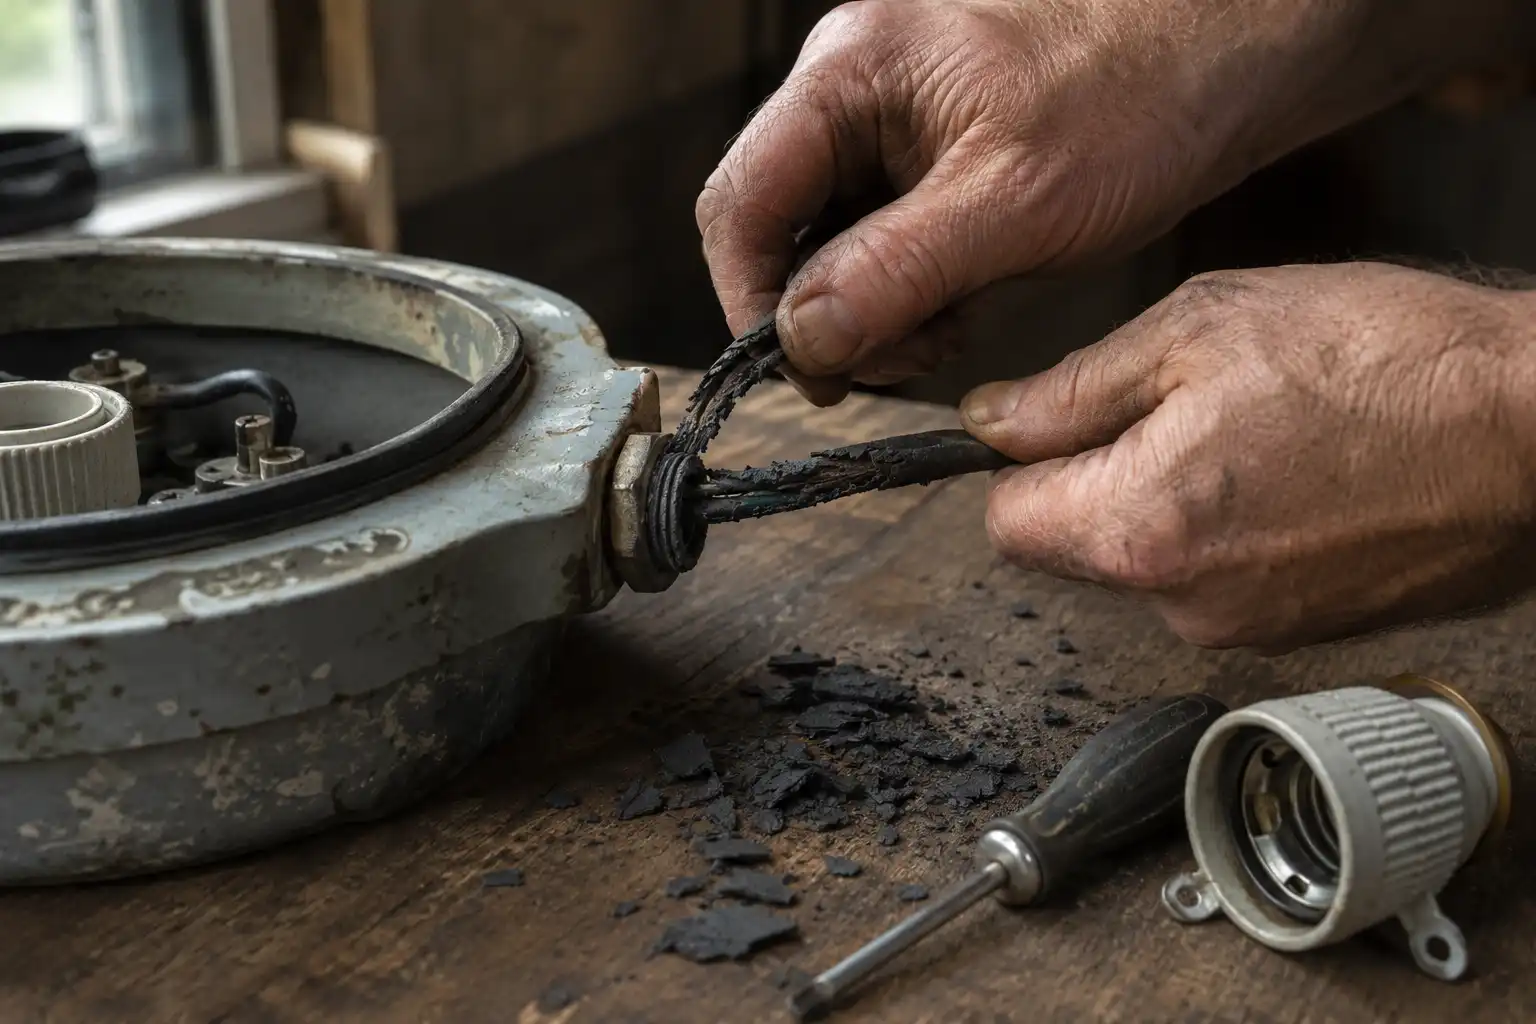
Last week a 300 watt deck light came into my Chattogram workshop off a Korean bulk carrier. The cast aluminum body was solid. The glass lens was perfect. The cable inside had baked into black crumbs that snapped apart when I touched them. That is normal. Deck lights ran hot lamps for twenty or thirty years. The housing survives. The wiring never does. Every one that leaves my yard gets rewired first.
To wire deck lights, pull out the old cable and fit a gland sized to the new one. Run high temperature silicone flex to a ceramic holder through a terminal block. Then bond the body to earth, test continuity, and seal the gasket before you power up.
Why Deck Lights Need Different Treatment
Deck lights were floodlights, not accent lamps. Most ran tungsten halogen, high pressure sodium, or metal halide lamps between 200 and 1000 watts. Holders were usually E40 or E27, at 110V or 220V AC.
Two things follow from that. The cable sat next to real heat, so ordinary PVC flex goes brittle fast. And the cable entry is wider than on a small wall fixture. A spare gland from your parts drawer will not seal it.
I covered what these floodlights did on a working ship separately.
Parts I Put In Every One
Here is what sits on my bench before I open a fixture.
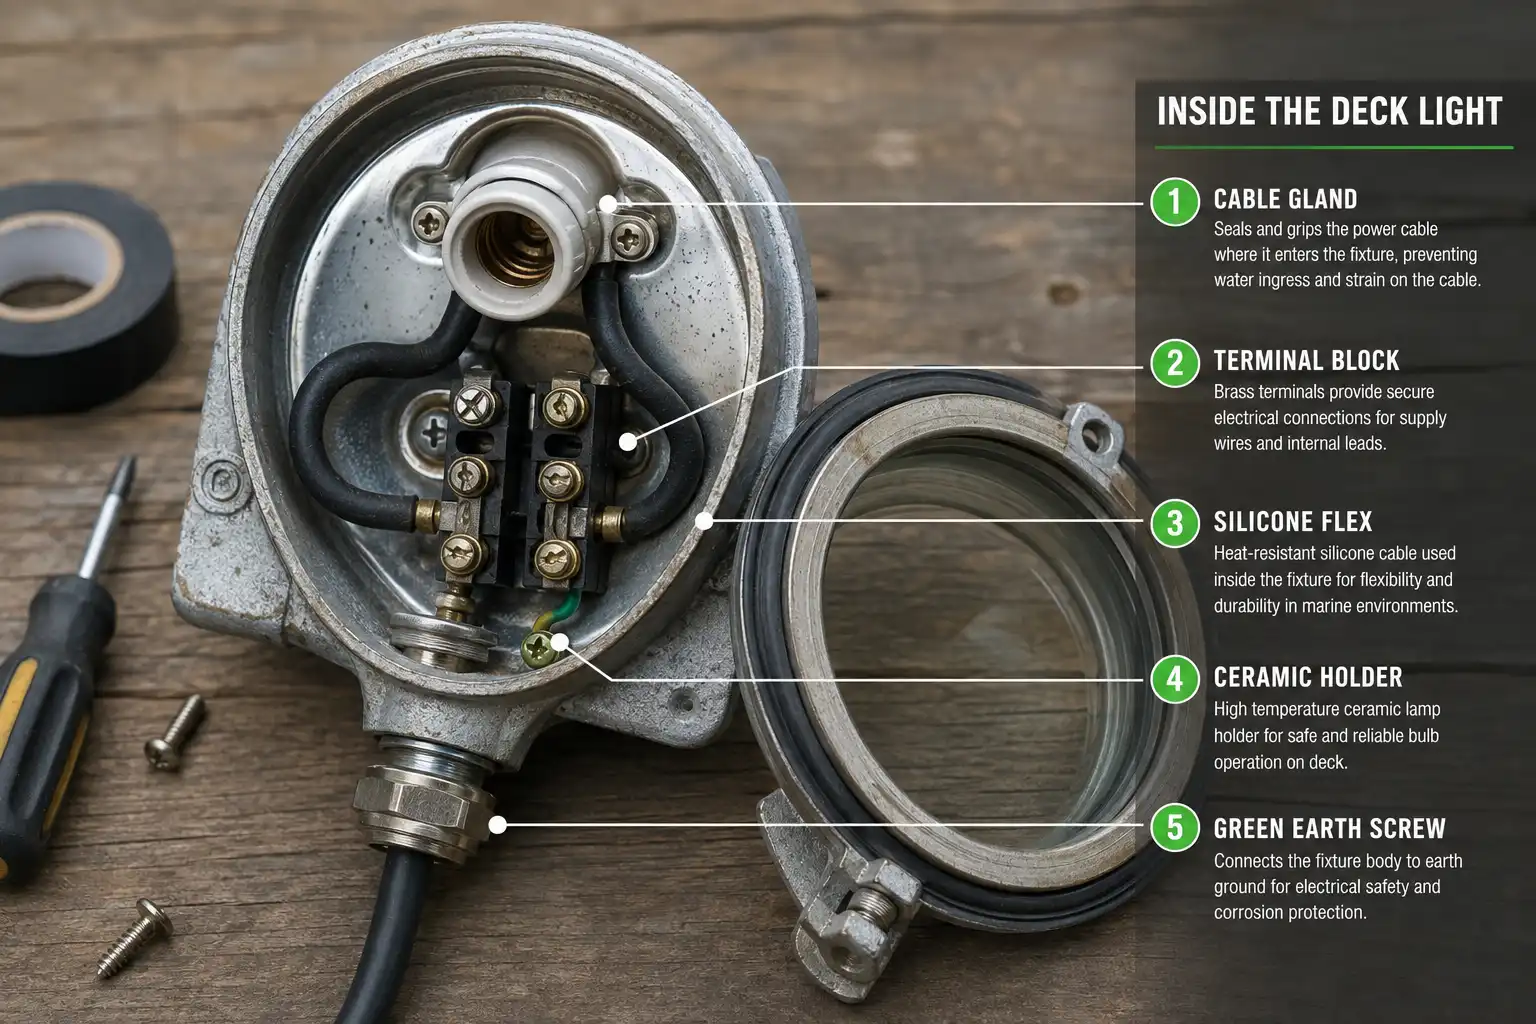
- Silicone rubber flex (SiHF type), rated 180C, 3 core with an earth
- A ceramic or porcelain lamp holder rated 250V, not plastic
- A brass or 316 stainless cable gland, IP66 or better
- A ceramic or nylon terminal block
- A new gasket cut to the lens seat
- A multimeter and a torque screwdriver
Silicone flex costs more than PVC. It also handles the heat these bodies hold.
Wiring a Deck Light Step by Step
1. Kill the power and open it up
Switch off at the breaker and test the circuit dead before touching anything. Then unscrew the lens ring, lift out the glass, and set it somewhere it cannot roll.
2. Photograph, then strip
Take a photo of the original layout first. Old cable, old holder, old gland, all of it comes out. Do not reuse a holder with heat cracks or a green terminal.
3. Clean before you rebuild
Wire brush the earth point down to bare metal. Paint and corrosion ruin an earth connection. It is also the moment for getting decades of grime off the metal, since you will not want to open it twice.
4. Fit the correct gland
Measure the cable with calipers. Pick a gland whose clamping range puts that cable near the middle. An M20 gland suits roughly 6mm to 12mm cable, M25 suits 10mm to 14mm. Sit at the edge of the range and the seal fails. That is usually where water actually gets into an old deck lamp.
5. Terminate in a block, never a twist
Live and neutral land on the terminal block, then short tails run to the holder. Brass screw takes live, silver takes neutral. Leave a small drip loop inside the gland so water tracks down and away from the terminals.
6. Earth the body
Run the green and yellow core to a dedicated earth screw, with a star washer under it. These are heavy metal bodies on an outside wall. A bonded body is the difference between a nuisance trip and a shock. The same logic runs through my general wiring rules for salvaged ship fixtures.
7. Test, then seal
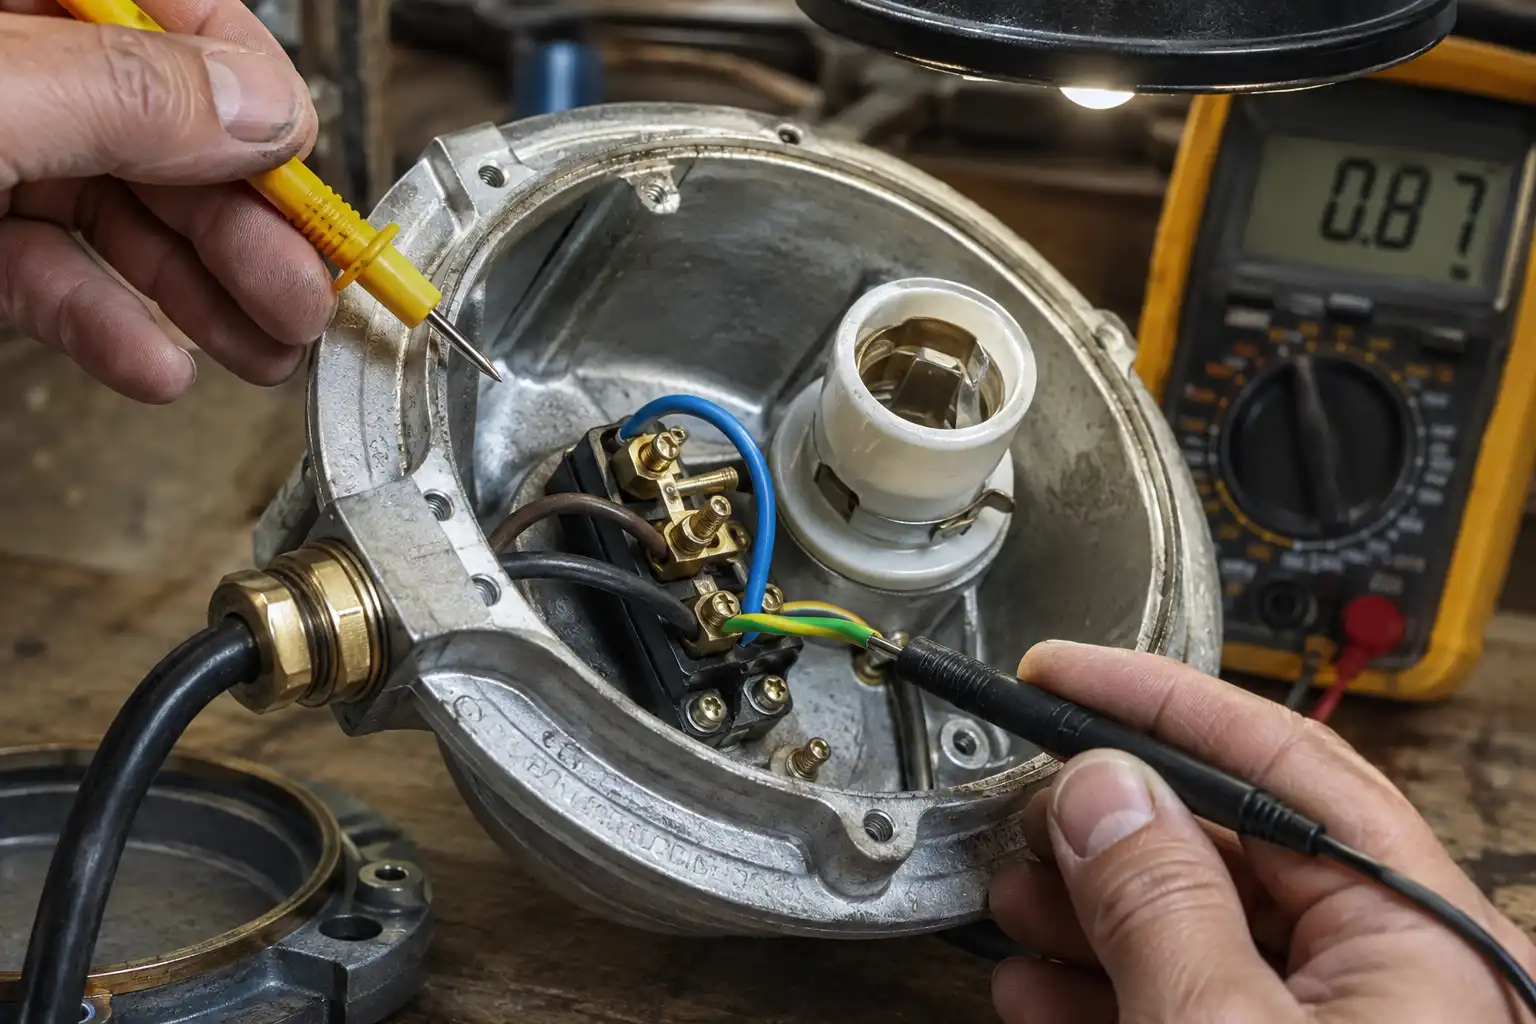
Check earth continuity from the body to the earth core with your multimeter. Check for shorts between cores. Only then fit the gasket, the glass, and the ring.
Converting a Discharge Deck Light to LED
Sodium and metal halide deck lights came with a ballast, usually in a separate gear box. Fit an LED lamp and that ballast comes out completely. Leaving it wired in will cook the driver.
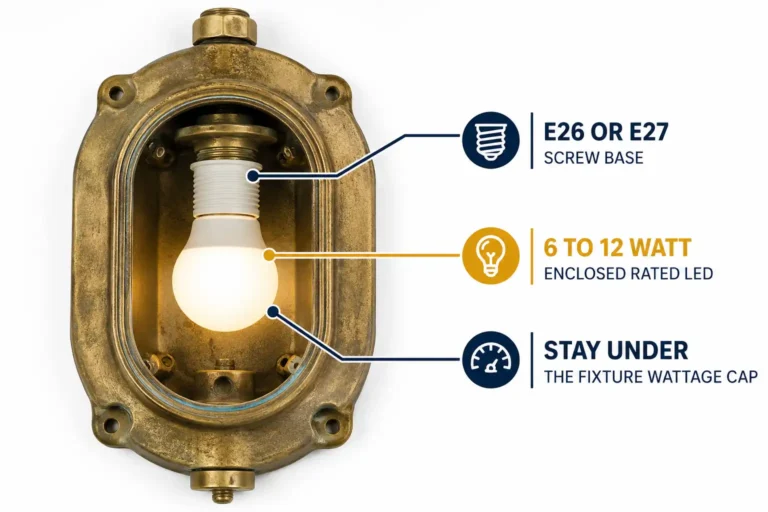
Swap the E40 holder for an E27 using a proper adapter, or replace it outright. A 50W LED in one of these bodies lights a driveway easily.
Mistakes I See Most
Reused gaskets. Hardened rubber will not seal, and a new one costs almost nothing.
The wrong location rating. A fully exposed fixture needs a wet location rating. Under an eave, damp location is enough. It also matters how much weather a salvaged fixture can really handle once you have opened it up.
Skipping the earth test because the wire looks connected. Looking connected and being connected are not the same thing.
Final Words
Rewiring one of these takes me about an hour, and most of that is cleaning. Take your time on the gland and the earth. Those two carry the job. Once it is wired, mounting one of these on a wall properly is the easy part.
If your local code wants a licensed electrician on the final connection, use one. Enjoy the light.