How to Install Nautical Lights the Right Way
Last week a buyer in Florida sent me a photo of a brass passageway light he bought from our yard here in Chattogram. It still had grey deck paint on the cage and a snapped wire poking out the back. His question was simple. How do I get this thing on my wall?
I pull these fixtures off scrapped ships every week, and most of the reclaimed shipboard lights I sell start out looking just like his. Getting one mounted and glowing is easier than people expect. You just have to work in the right order.
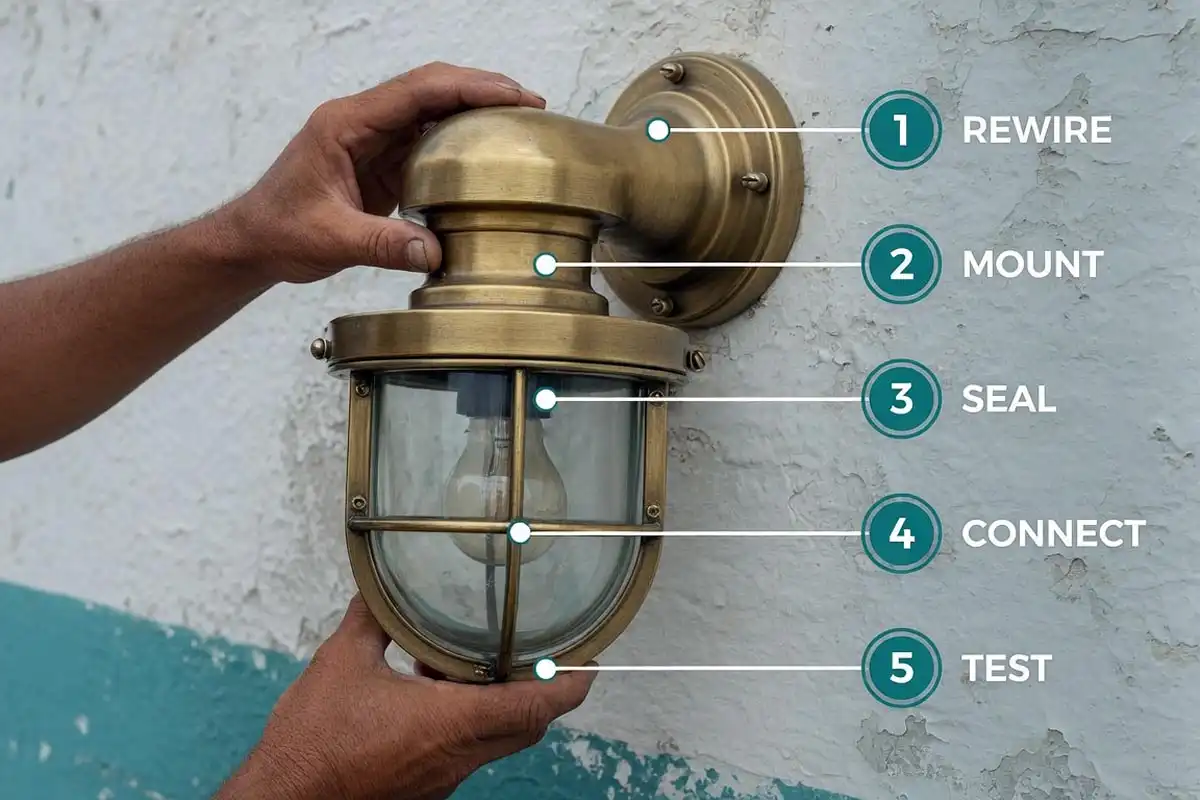
To install nautical lights, first rewire any salvaged fixture with a UL listed socket and fresh wire. Mount the backplate to a solid surface, seal the edges against water, then connect the wiring to your power supply. Always test the light before you close it up.
Start by Rewiring the Salvaged Fixture
Most salvaged lights come off the ship dead. The old wiring is brittle and unsafe. So the first job is a clean rewire.
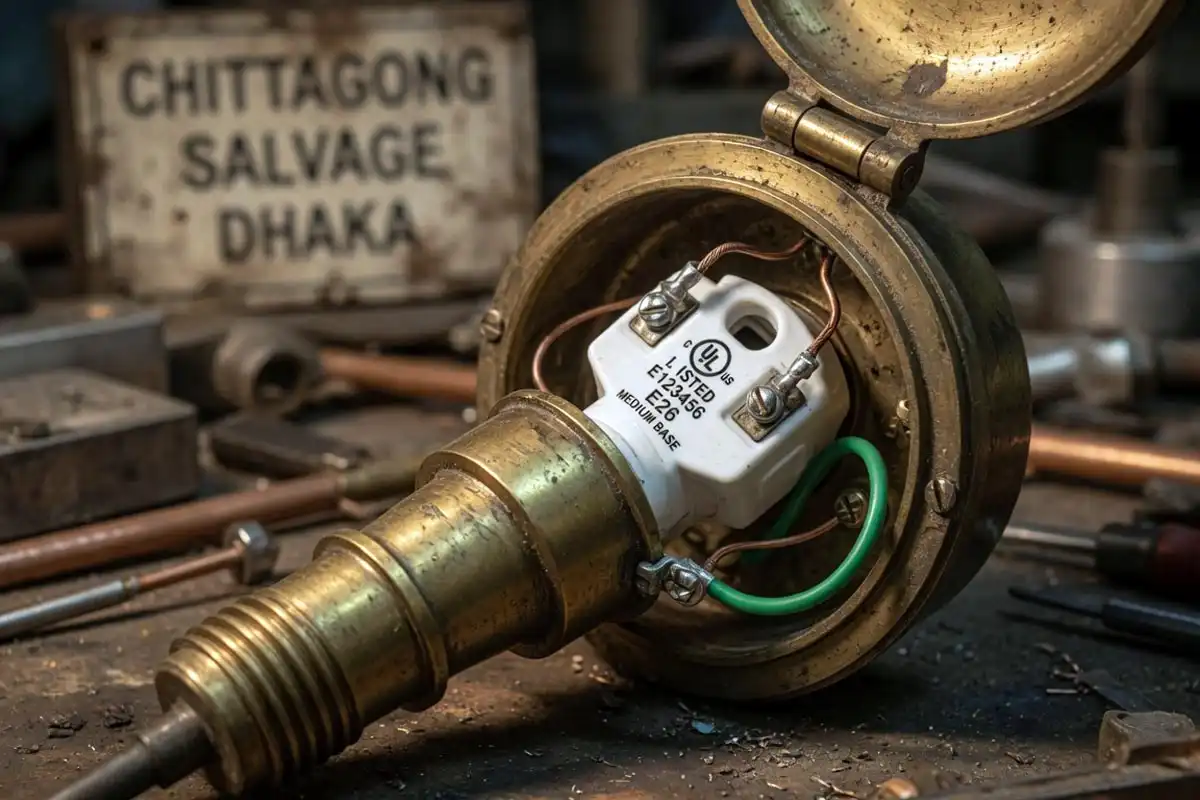
Unscrew the threaded cage and lift out the glass globe. The socket sits right behind it. Swap the old socket for a new UL listed one rated under 250 volts, and add a ground wire.
For a home fixture, standard building wire is fine. For anything on a boat, use tinned copper marine wire so the strands never corrode. If you are unsure which metal body holds up best near salt air, I broke that down separately.
Choose the Right Spot and Height
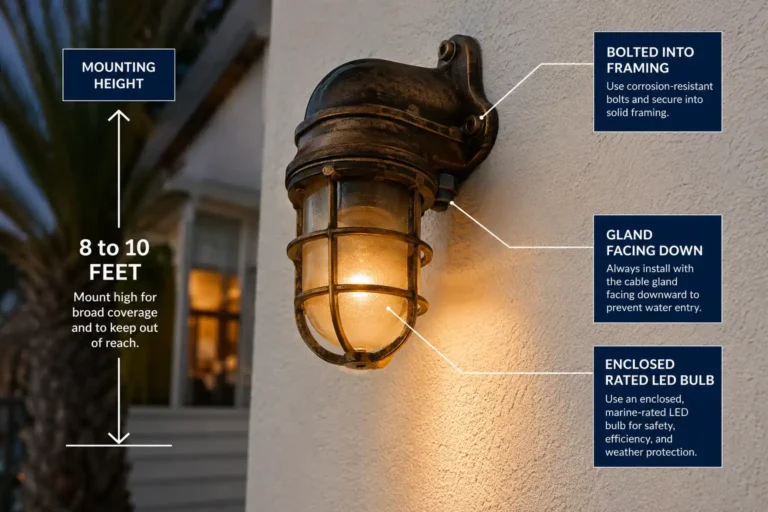
Pick a flat, solid surface. Brass bulkhead and deck lights are heavy, so thin drywall will not hold them alone. Hit a stud or use proper wall anchors.
For a wall sconce, set the center around 66 to 72 inches off the floor. Beside a door, keep it just above head height. On a boat, mount running lights where nothing blocks the beam.
How to Install Nautical Lights Step by Step
Hold the fixture where you want it. Mark the screw holes with a pencil. Drill your pilot holes.
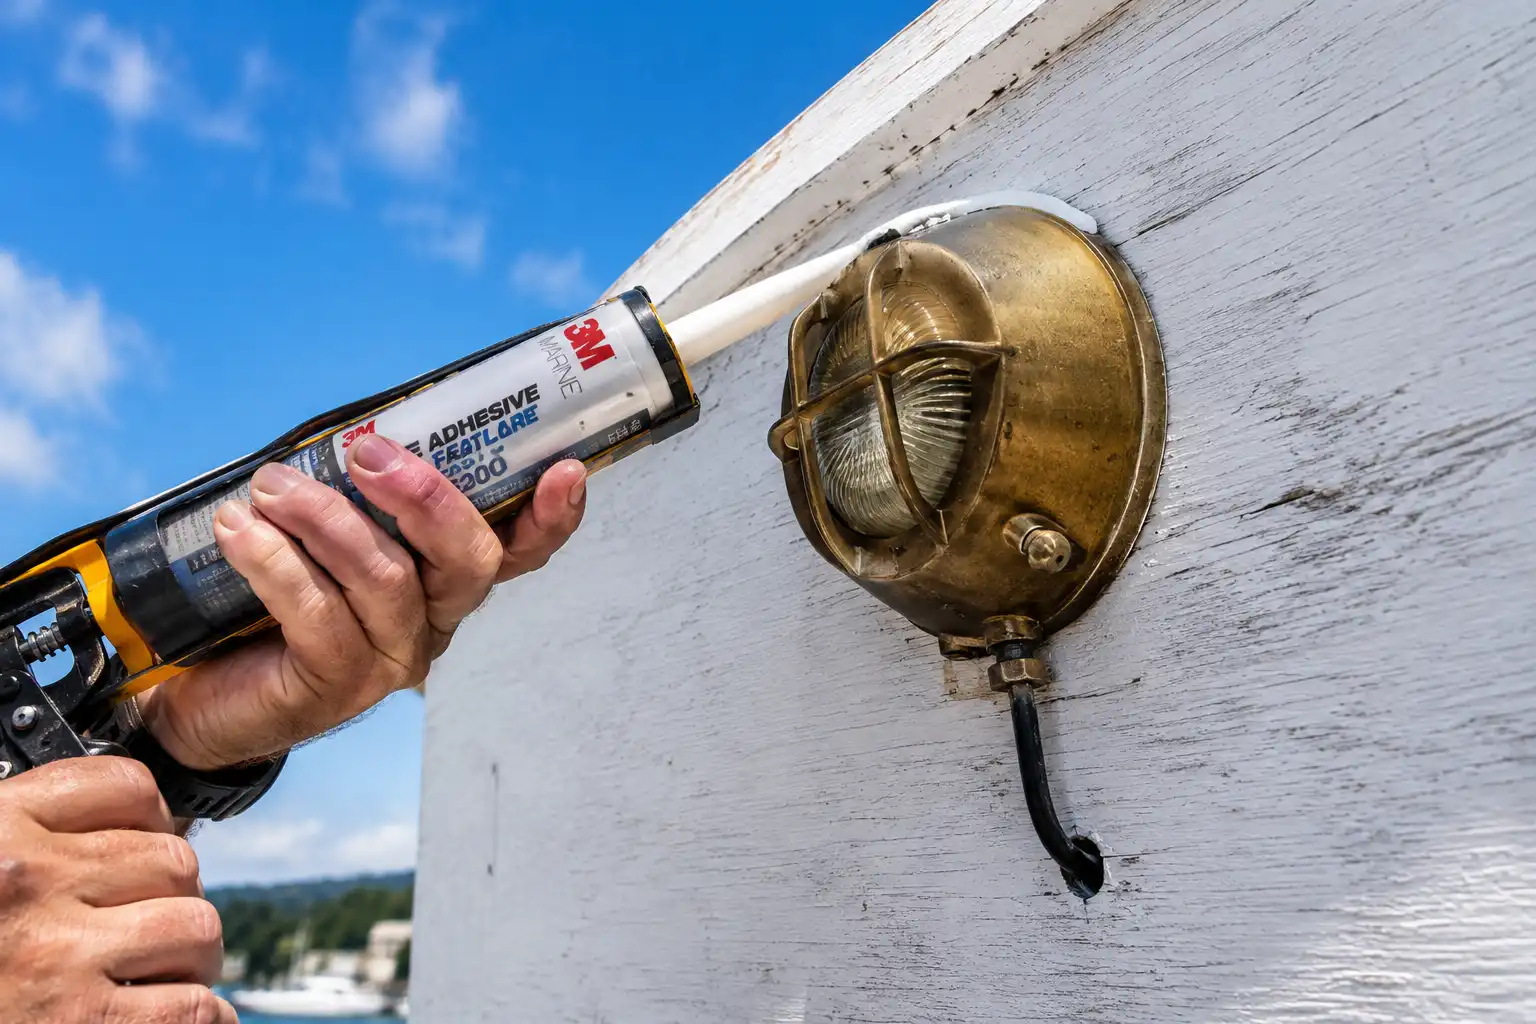
Feed the supply wire through the back of the mount. Screw the backplate down tight. Now seal it. Run a bead of marine sealant across the top and sides, but leave the bottom open so trapped water can drain out.
Connect the wires. Live to live, neutral to neutral, ground to ground. Fit the globe and cage back on. Power it up and check the glow before you step away.
Wiring for a Boat vs a Home
The two setups are not the same.
At home you are on 120 or 230 volt AC. Feed the light from a junction box. Any fixture living outdoors needs a wet location rating, ideally IP65, and every cable entry must be sealed. If mains wiring is new to you, hire a licensed electrician. No shame in it.
On a boat you run 12 or 24 volt DC. Give each light its own fuse. Size the wire so voltage drop stays under three percent. Use glue lined heat shrink crimps, never bare automotive connectors.
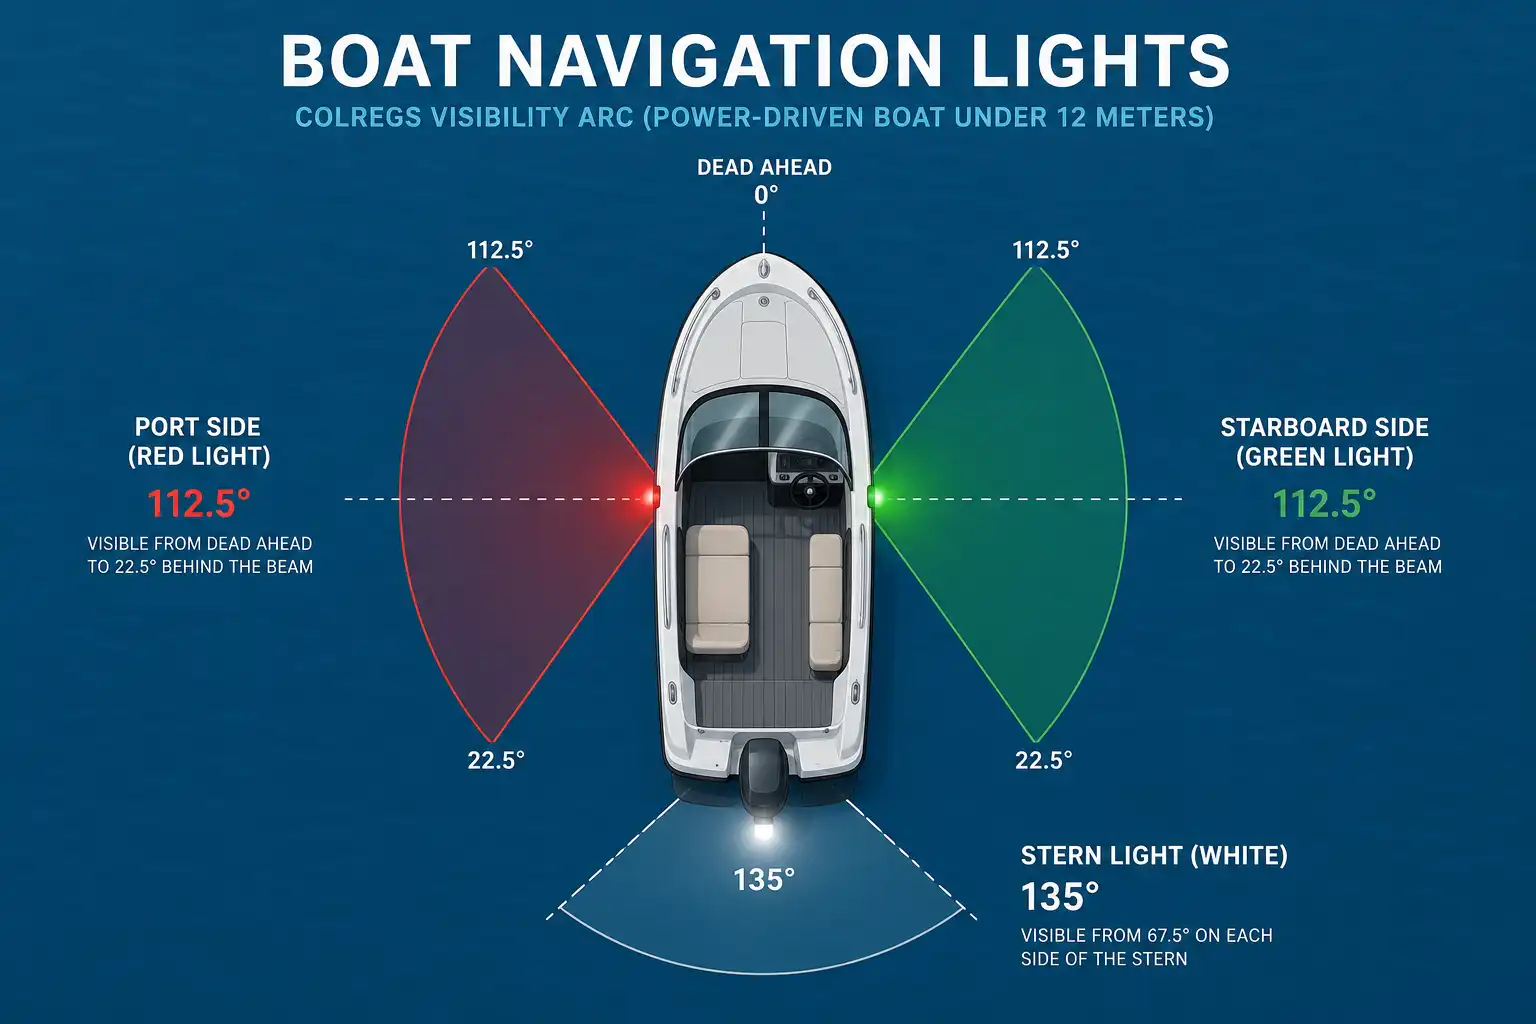
If yours are working navigation lights, position is set by law. Red goes to port, green to starboard, each showing across a 112.5 degree arc. The white stern light covers 135 degrees behind you. Those rules come from COLREGs, and a patrol officer can ask you to prove they work. I laid out the running light rules for cargo ships in more detail if you need them.
Common Mistakes I See
People skip the drip loop. Leave a small downward dip in the cable before it enters the light, so water drops off instead of running in.
People also over tighten brass screws and crack the casting. Snug is plenty. Others forget to seal, then wonder why an outdoor lamp fills up. If you ever fight water sneaking into an old deck lamp, there is a fix for that.
One more. Do not paint over the vents. Old ship lights breathe for a reason.
Final Thoughts
Installing nautical lights is mostly patience and a clean rewire. Take your time, seal it well, and test before you button it up. A good brass fixture will outlast the wall you hang it on.
If you want the wall mounting broken down further, I wrote up the bulkhead fitting steps on their own. And once it is up, a quick wipe now and then keeps the brass bright for years.
Good luck with the install.